Pimp My Walmart PC

TL;DR Reverse engineering HP's proprietary PSU so that we can make a cheap gaming PC with parts from Walmart and an old GPU
I'm no environmentalist but I don't really throw away working computer parts. I use them until they break beyond any sense of repairability. You can call me... thrifty... or a hoarder... or maybe just old man.
However back in 2019, I did need to upgrade my GPU to play Call of Duty Modern Warfare 2019. I was going to play the game regardless and my GTX 760 had no chance of playing MW2019. So I bought an RTX 2060.
Thus, my poor 760 was stashed away in some dark corner while I suffered through Warzone.
Selecting the PC
Fast forward to 2021.
- I owe my girlfriend a gaming PC
- GPU prices are through the roof (my $350 RTX 2060 is now worth $600)
- Still have a GTX 760. Not an amazing GPU but perfectly serviceable.
Ignoring the GPU, it would cost about $500 to purchase new parts to build a reasonable PC.
Buying used components might have been the cheapest option but it seemed like a bad idea to build against very outdated hardware. Most of the parts I already have are for older components and buying old PC parts on eBay is expensive anyway.
As a rule of thumb, outside of the high end, prebuilt PCs tend to be better value than a custom built PC. Manufacturers can buy in bulk and get better deals so I started looking for prebuilt PCs that I could add some of my parts to.
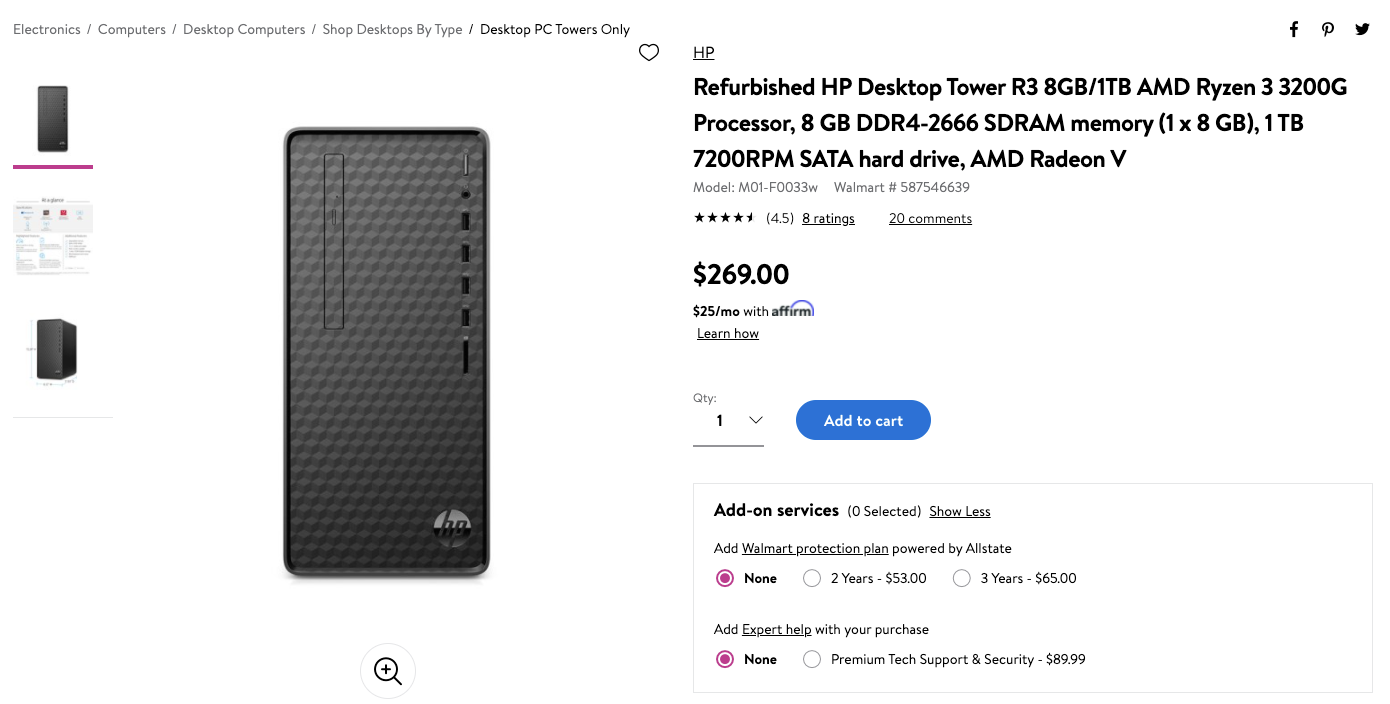
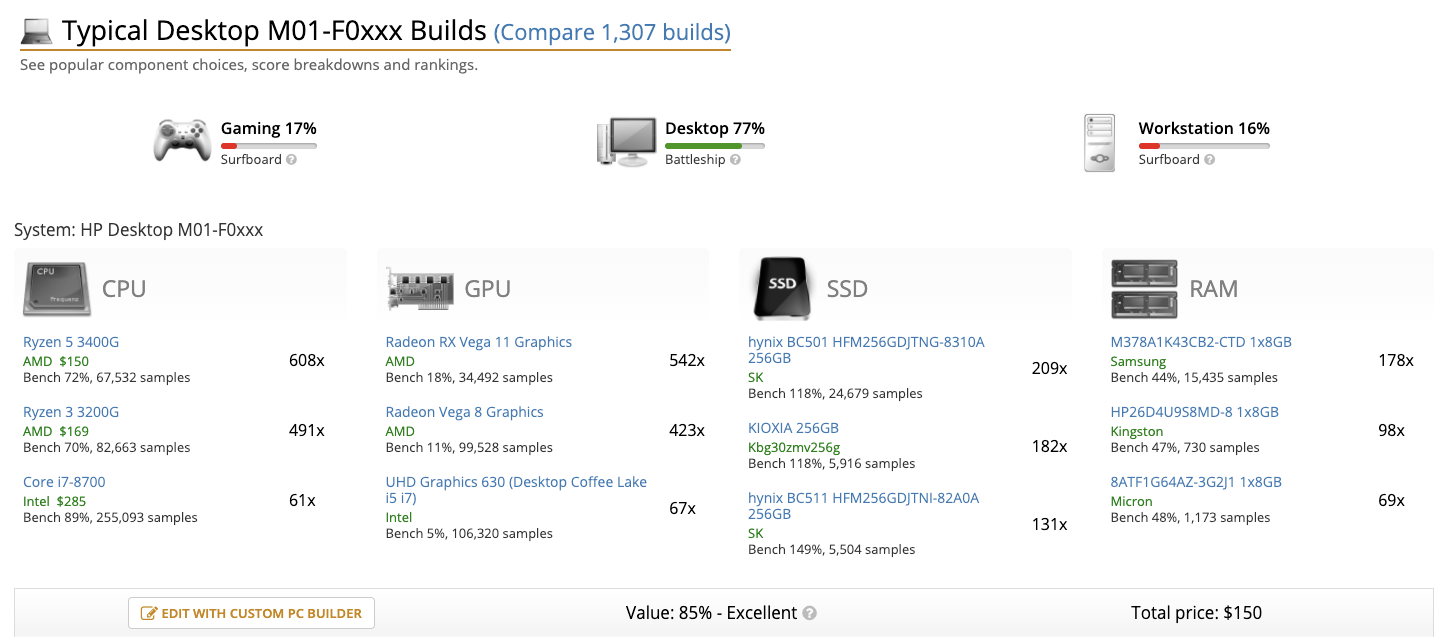
Originally I wanted to just buy this refurbished Walmart PC. However, I've never seen it in stock. Likely because it's a really good deal and r/buildapcsales is faster than I am. Walmart's in-stock alerts don't seem to be very reliable either.
After looking around Walmart I ended up purchasing this:
I spent maybe a few hours researching different PCs and this PC stood out for a couple of reasons:
- It was sold & refurbished by Walmart, not a random third party refurbisher
- A review mentioned that they added parts to it but were using multiple PSUs
- My GPU would likely fit based on the measurements I could find
- The motherboard had upgrade options if we wanted them. I could upgrade the RAM to 32 GB, upgrade the CPU to a better AMD CPU, it had a PCIe slot for my GPU, and an M2 slot for an SSD.
There were a few downsides though:
- Some of my initial research showed that HP liked to use proprietary PSUs in their non-gaming PCs. This was likely one of the reasons the review mentioned having to use two PSUs.
- The motherboard chipset is AMD B550A. The B550 shouldn't work with the provided CPU but I later learned that B550A is actually B450 but rebranded to make it seem newer.
I decided that in the end, I could always just run two PSUs if I couldn't find a way to use a single one. There seemed to be a few PSU adapters anyway...
Proprietary Parts
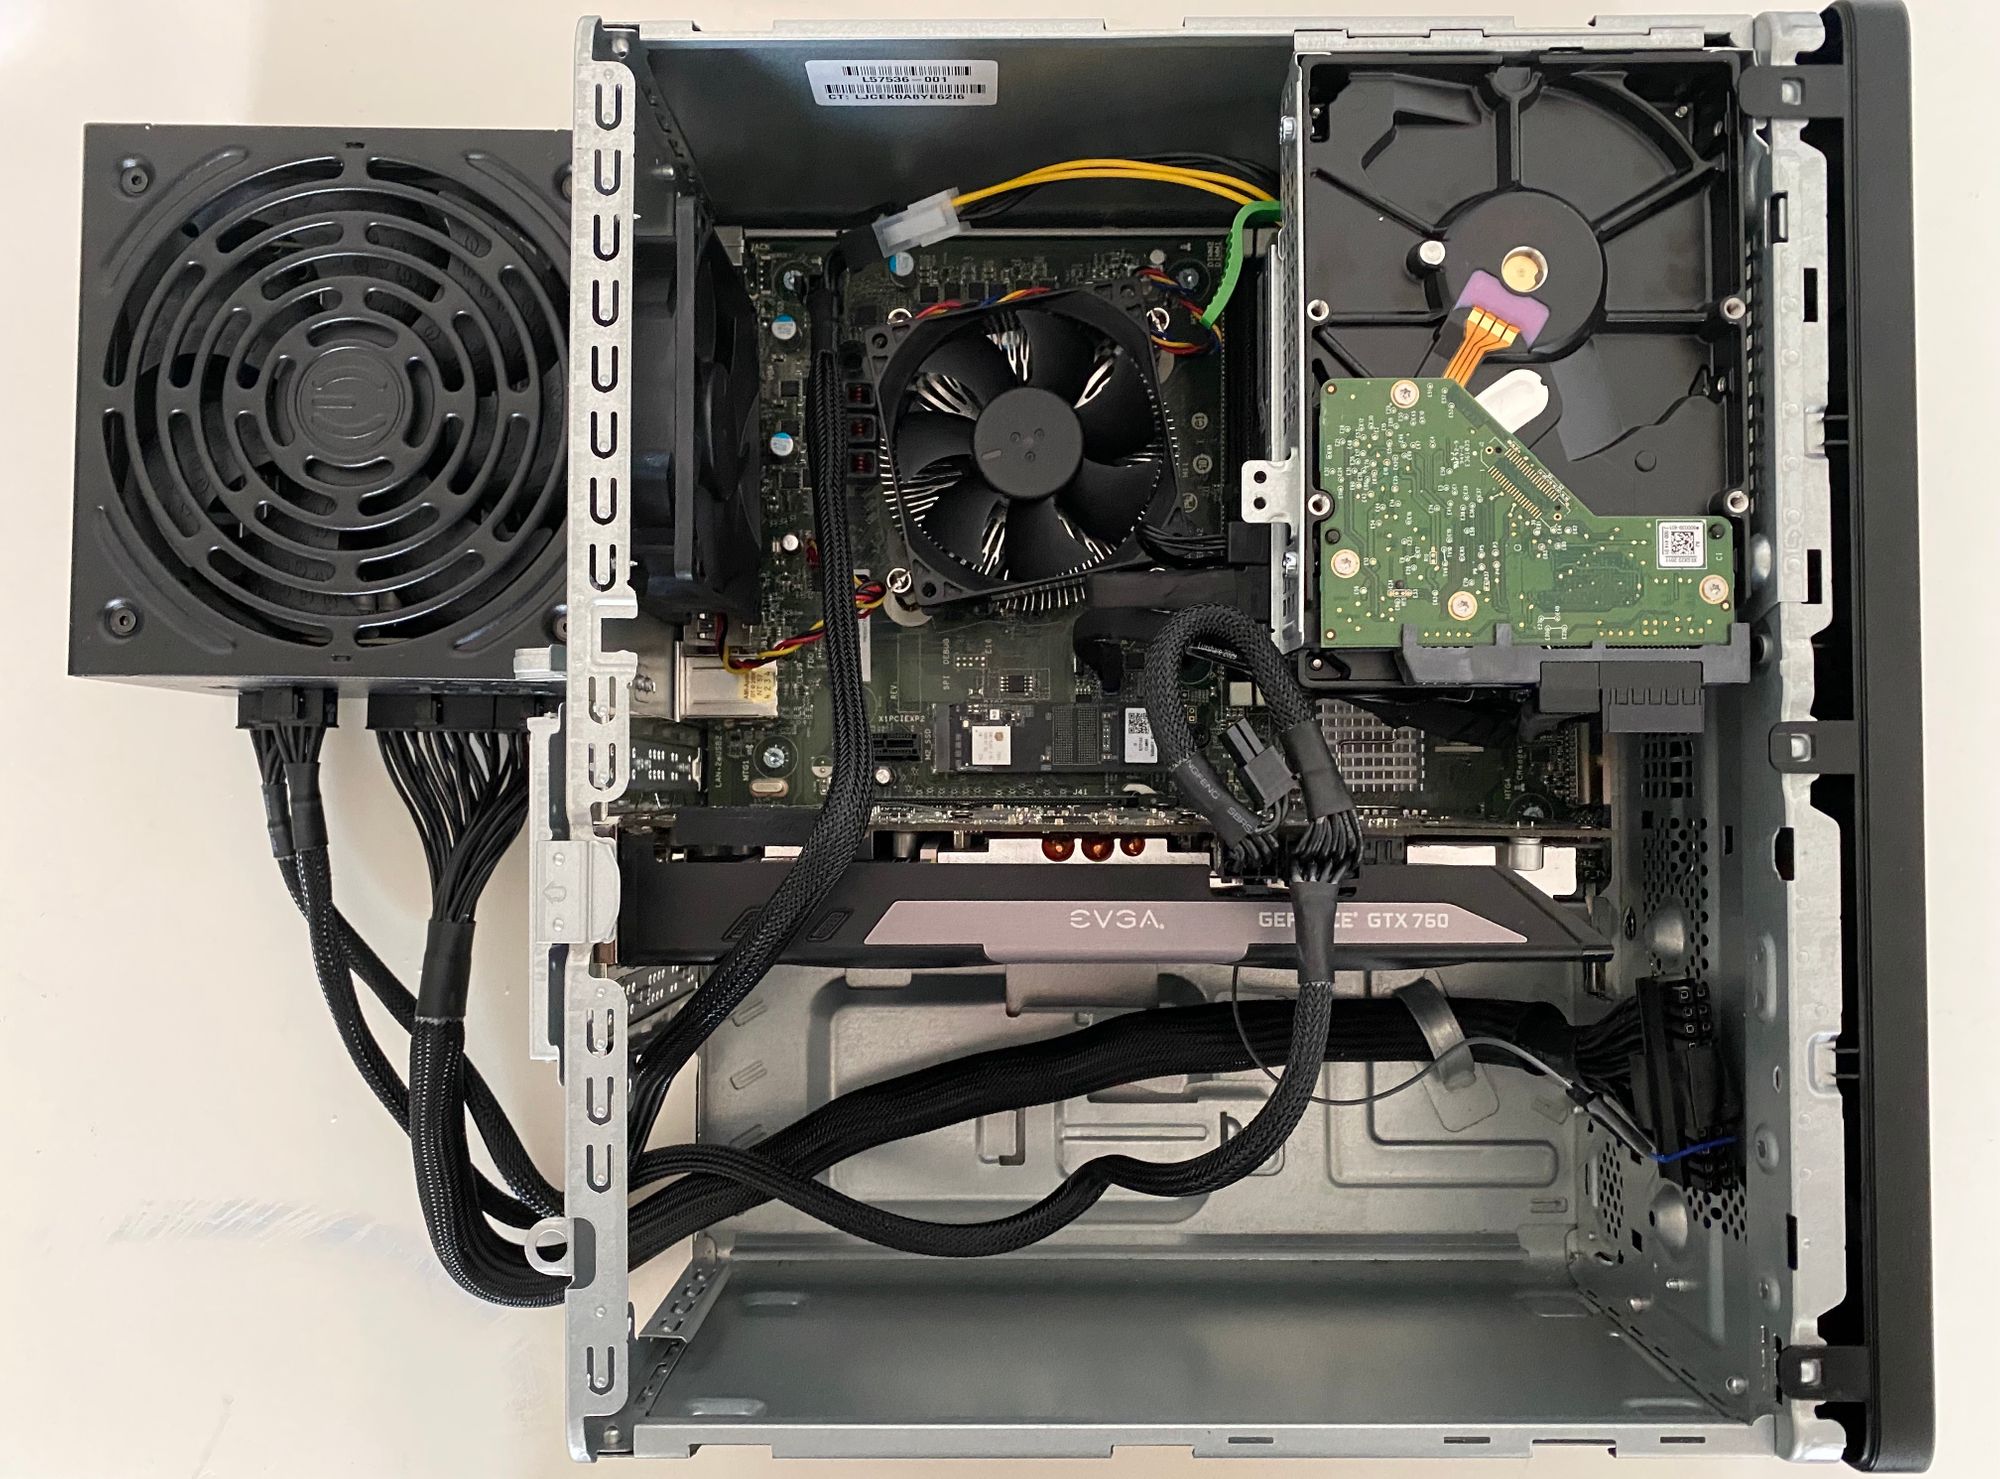
Walmart shipped really quickly and I had the PC within two days. Who needs Amazon Prime anyway!
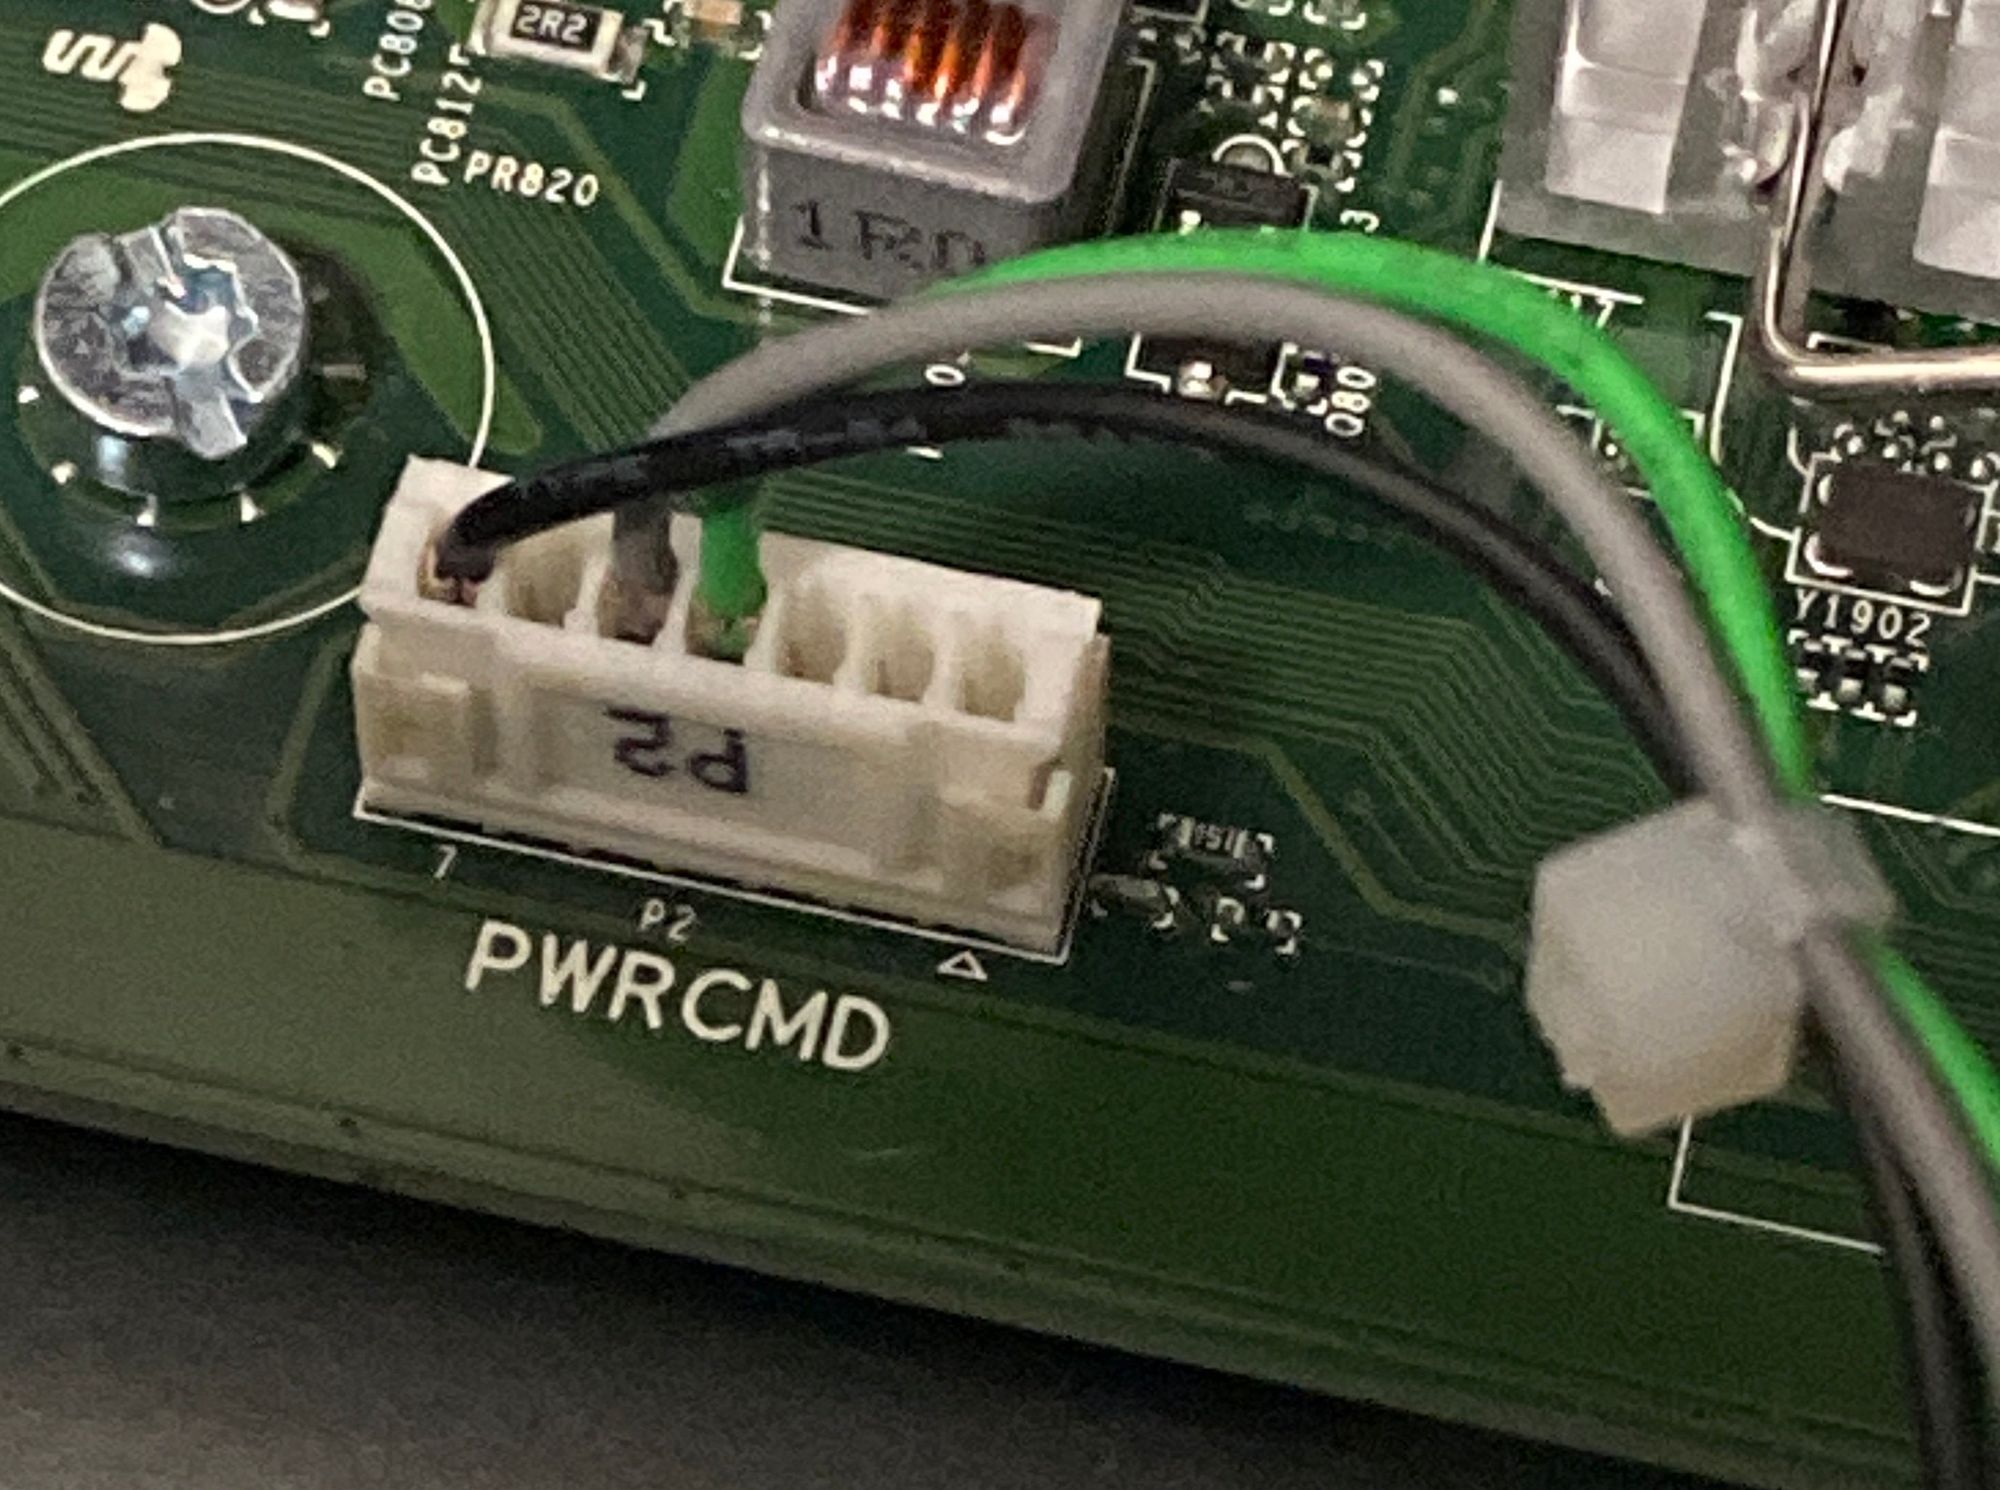
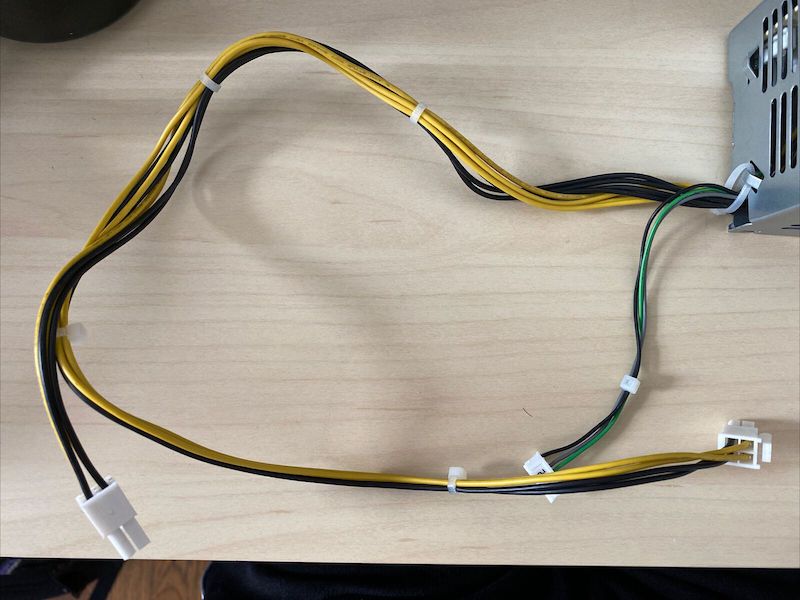
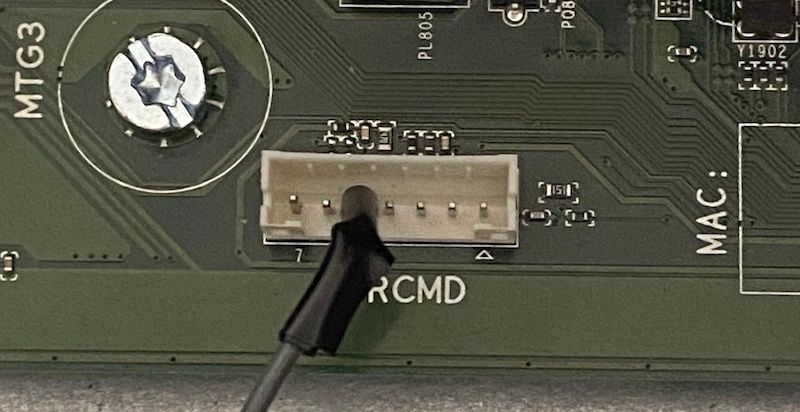
However, after opening the PC up I found that the PSU and motherboard were proprietary (Model #: L08261-002). Even worse, the PSU only provided 180W and I needed at least 500W to drive my GPU. The PSU also had a non standard, 7-pin connection to the motherboard.
Based on other people's struggles, it seemed like the HP PSU in theory could be replaced with a regular PSU. The other PSU cables seemed like standard 12V rails:
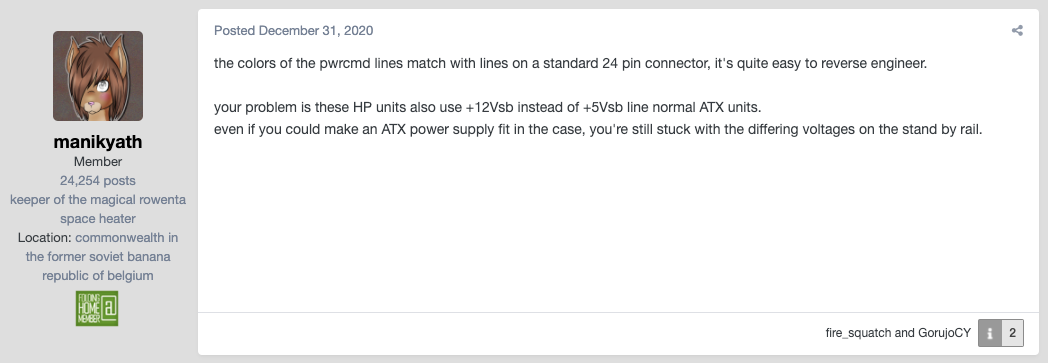
However it seemed like no one had made an adapter for this particular PSU and some commentary about non-standard standby voltage scared me a bit.
At this point I could either:
- Use the proprietary PSU and attach a regular PSU to the GPU
- Reverse engineer the proprietary PSU and try to emulate it
I spent a few hours verifying that I could actually do the first before I decided trying to do the latter.
Pretending to be an Electrical Engineer
I learned a lot about computer power supplies while working through this. Here are some of the important takeaways:
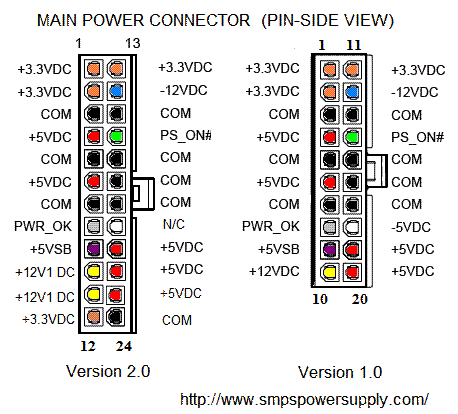
- PSU wire color coding is actually fairly standardized. You can more or less guess the functionality of a PSU's wiring based on its color.
- Computer PSUs aren't always supplying power. They activate once you push your PC's power button. This connects a 5v line on the PSU which signals it to turn on. This goes from PS_ON (5v, green wire, a.k.a. Power On) to ground (black wire).
- After powering on, the PSU reports a signal to the motherboard that everything is okay. This is called PWR_OK (or Power Good) and is typically a gray wire on the PSU.
- Standard PSUs are always providing about 5V of power to the motherboard so simple components can run. Things like the on/off switch, maybe a USB port to charge.
- You can connect a paperclip to PS_ON and ground, to fool a power supply into thinking that it should turn on letting you test it with a multimeter.
With that knowledge in mind, let's fast forward a few hours of trying not to electrocute myself. Using a multimeter and the paperclip trick, I learned a few things about the proprietary HP PSU.
- When on, the HP PSU delivers 12.26V to each of the 2x2 rails on the motherboard. This is within the acceptable ranges for the ATX standard (+11.40V to +12.60 V).
- The PSU's 6 pin connector is actually just a clever reimagining of the aforementioned green, black, and gray cables. You can literally see into the PSU and see what they labeled each wire for. The colors are even standard!

However the earlier comments about non-standard standby voltage bothered me, so I checked it...
The HP PSU was delivering 12.26V of standby voltage!
Normally, an ATX PSU only provides 5V of standby voltage, but HP decided they wanted to get tricky.
It's my power and I need it now!
Anticipating that I would need to use two PSUs, I ordered a PSU that would have enough wattage to drive everything. It provided 12.05V along the 12v rails when turned on and provided 5V standby voltage. Obviously, this won't work directly.
So how do we get 12V standby voltage to emulate the HP PSU? It took a while for me to be sure to make some PSU customizations but it's actually quite simple.
First we shove a jumper wire between PS_ON and ground to trick the PSU into an always on state. Then wire up the grey wire on the PSU to the grey wire pin on the motherboard to get PWR_OK working.

The PSU now provides 12V constantly and will work properly with the PC's power on button.
In my case, the PSU also had an "eco mode" where the fan would not engage unless there was a certain level of power draw. This meant that the resting wattage usage should be near zero and pretty close to the original PSU.
After hooking everything up... the PC boots with just one PSU!
The astute will notice that the HP PSU provides 12.26V and the new PSU provides 12.05V.
I benchmarked the PC for awhile and did not notice any kind of shutdown or failures but I am keeping this in mind if any issues crop up.
Technically the HP PSU states that it outputs 12.1V and I suspect the differing voltage values are within acceptable ranges for the components.
Style Points
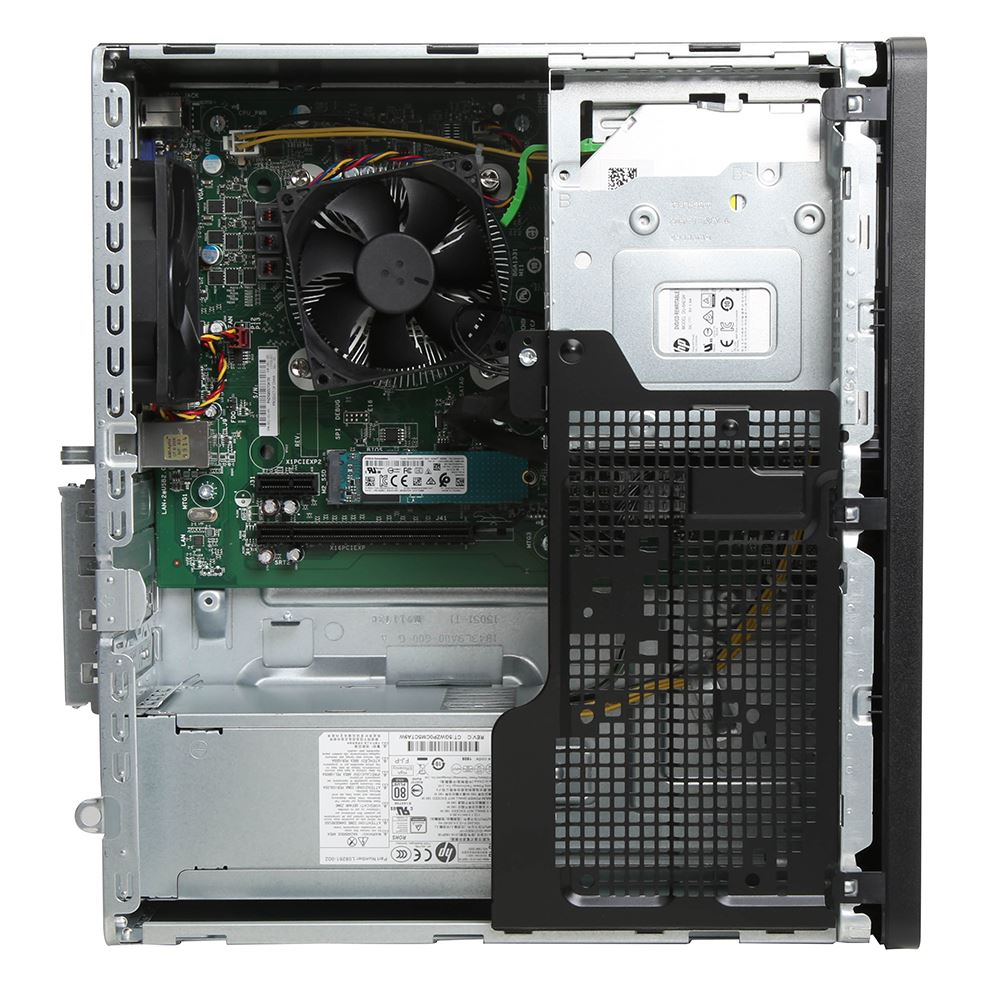
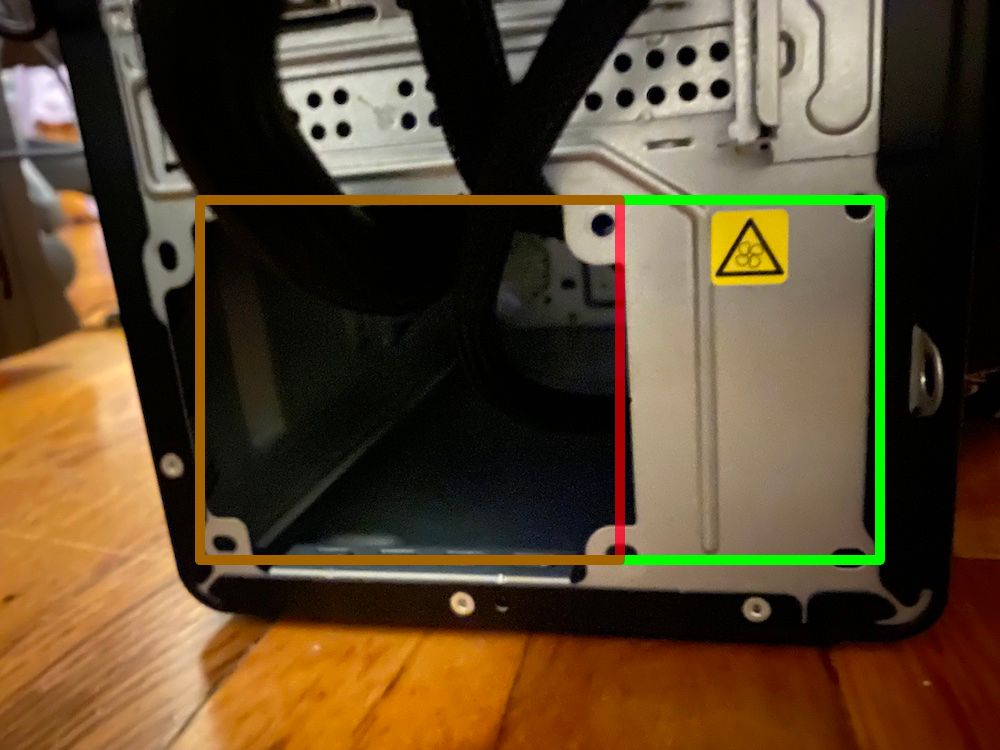
Unfortunately, because the HP case is very small, it's very difficult to put additional hardware inside. It's likely that the case and PSU were specifically made smaller to make the hardware more proprietary.
However, HP did design the case with some ideas around them making modifications or customizations:
- There are PCI slots and an M.2 slot for you to put in some additional hardware
- There are additional screwholes for additional hard drives
- There are screwholes for ATX PSUs but there are bumps and guards preventing using a regular PSU. If you were to cut out those pieces, you could likely fit in a regular PSU.
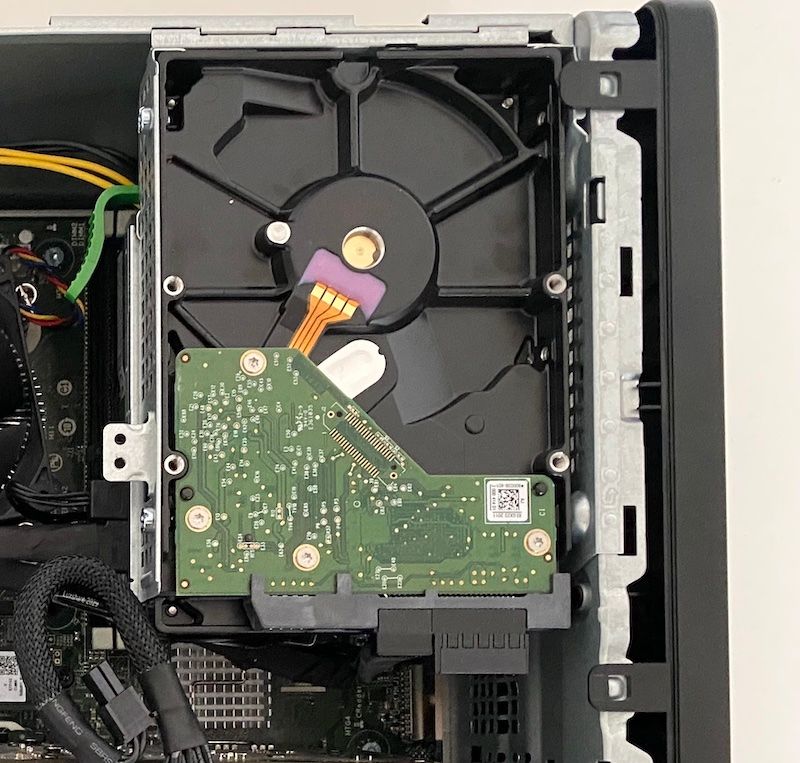
Since the motherboard has a slot for an M2 SSD so I bought a cheap one from MicroCenter. Much faster than the original 7200 RM HDD but we can keep that around for storing those fat video games.
I screwed in the old HDD in an area by the CD drive that seemed at least partially like it was designed to hold an HDD.
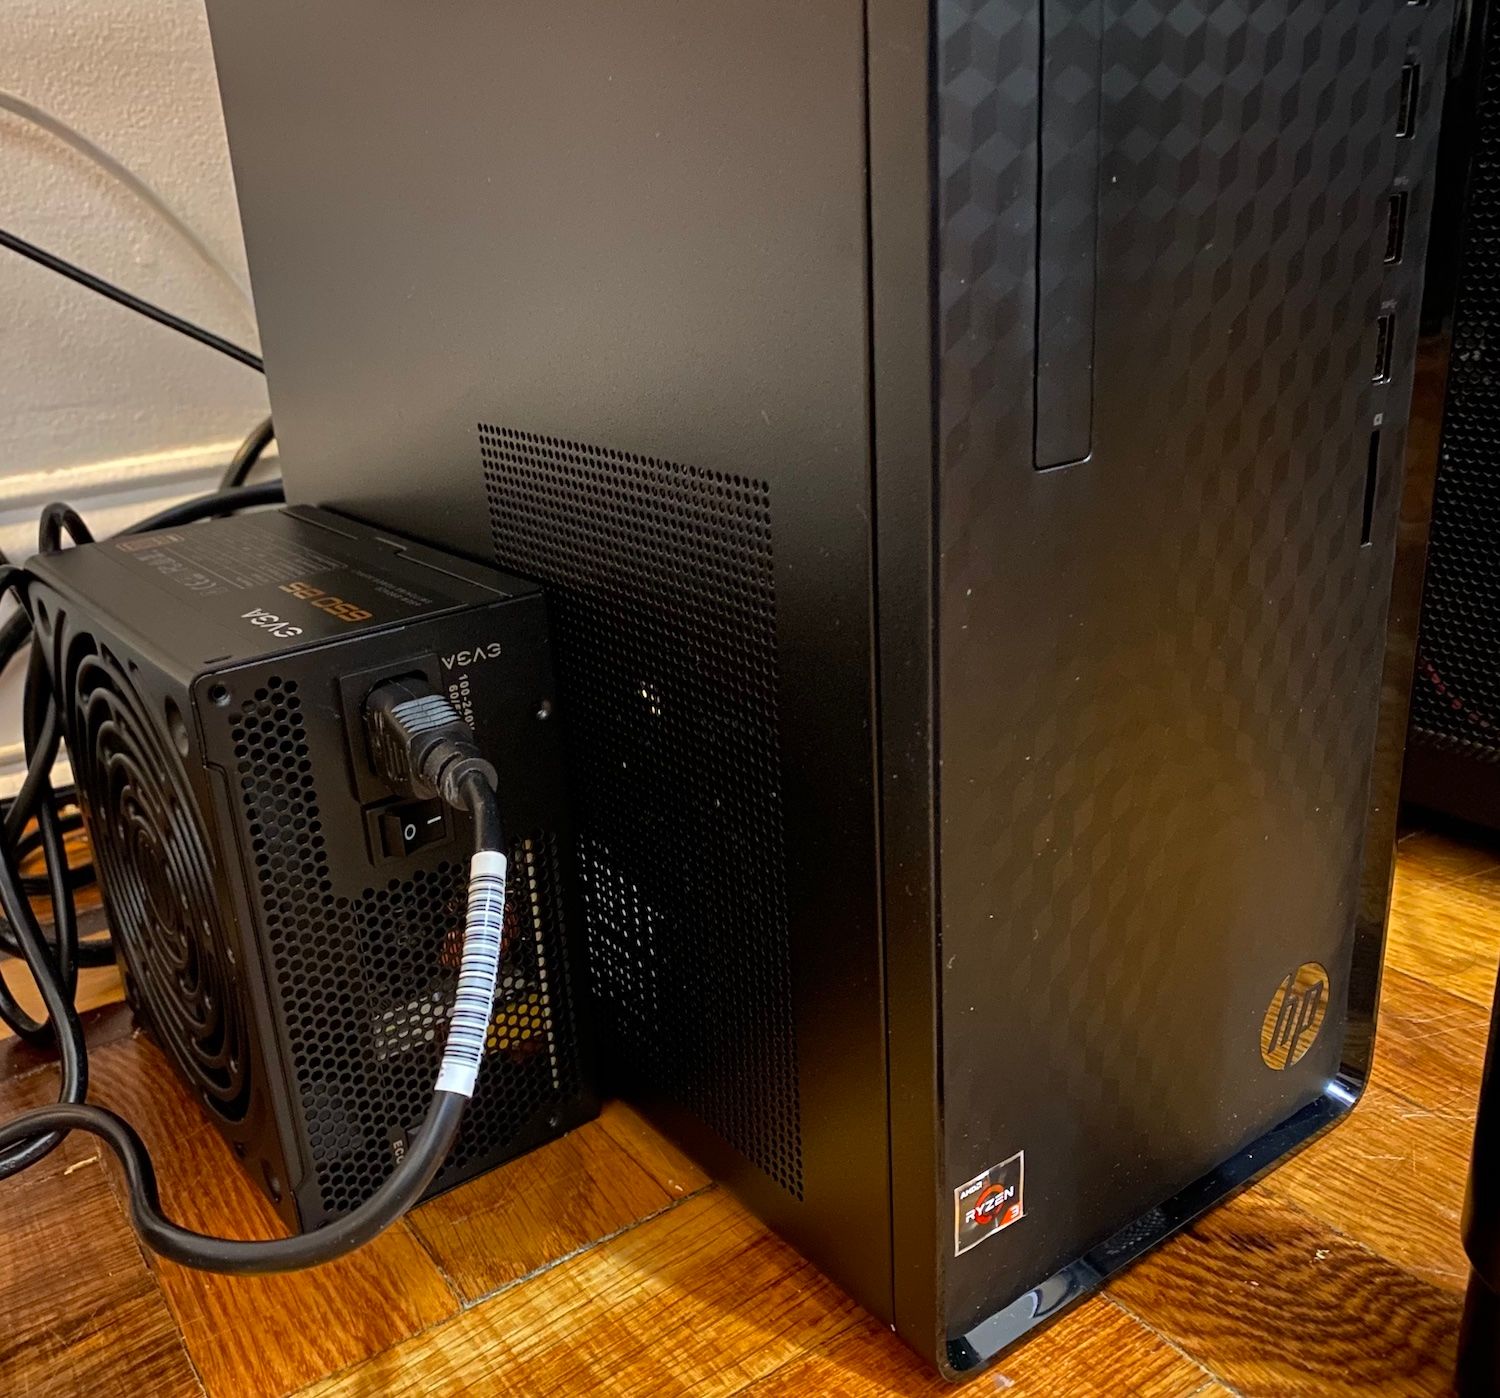
The real issue is that the case has been customized for a miniaturized PSU.
It's not possible to put in an ATX PSU without cutting out parts of the case. Even though I have some ideas about cutting out the space it seems like a bad idea because of the lack of airflow in the small case. Unless we were to also cut out some holes for additional fans, blocking airflow with the PSU would probably be a bad idea.
For now, the PSU can just hang out on the side.
Benchmarks
The performance of the PC in practice was quite good. Before installing the SSD, it did tend to slow down while doing things but afterwards, it was like greased lightning.
Here are the benchmarks provided by UserBenchmark:
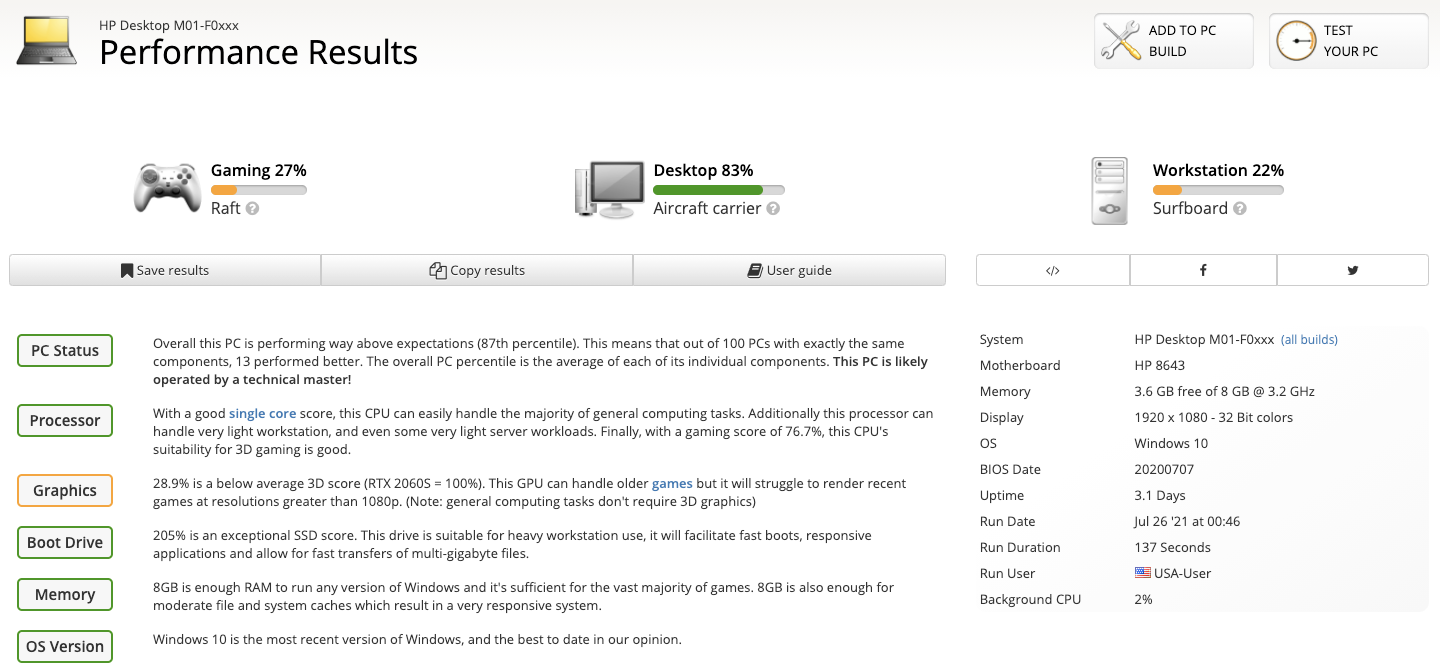
I think I'm a little annoyed by the "Raft" characterization but in practice the PC runs games fine. The main game used for testing (World of Warcraft) ran between 80-100 FPS (topped out at 250 FPS) at the recommended graphics settings.
Compared to the standard build, there's about a 10% improvement in the percentages.
In general, benchmarks are mostly just a rough estimate but I'm including them here because I think there's some value in it.
With regards to games, the goal was never to run the latest games with the highest graphics settings but so far it's been very good for the games that we wanted to play.
Total Costs
The following are all the things that I purchased for this project and the cost for me at the time before tax.
- Walmart PC - $269 (Walmart)
- GTX 760 - N/A
- EVGA PSU - $44.99 (Amazon) (Woot!)
- M2 SSD - 34.99 (Amazon) (MicroCenter)
- Jumper Wires - $4.99 (Amazon) (MicroCenter)
- ATX 4 Pin Extension Cable - $3.99 (Amazon) (MicroCenter)
Total: $357.96
I will probably be selling the proprietary HP PSU to recoup a little more of these costs as well. That should knock maybe $30-$40 off of the total cost. All said and done I think it's safe to consider the final cost here to be about $320.
Conclusion
We were able to combine some mediocre, used/refurbished PC parts into a pretty good gaming PC in a cost efficient way. It might be a little funky with the PSU hanging out on the side but it doesn't look like a disaster. We could theoretically even do some work to get it in the case.
I think maybe the most interesting question to wonder is whether or not the first choice PC was a better value. It has a slightly better CPU, built in SSD, and a better GPU for $389.00.
We've got a better PSU, extra hard drive space and I think there's a bit more upgradeability because it seems easier to customize the PSU.
Unfortunately though, I'd definitely say that the prebuilt is a better value.
Right now the GPU (1650 SUPER) is valuable enough to cover the entire cost of the PC. They're currently going on eBay for about $300. It's honestly a great deal and deserves it's title as THE Walmart Gaming PC. But good luck finding a refurbished one in stock and buying it new is around $750.
Overall, sure we couldn't beat the king of value, but this was absolutely a good deal.
If you've got some extra computer parts, take a look at buying a pre-built PC and adding your parts into that. It can be more cost effective than buying more parts. There's some work involved sure, but you can get very good value for not a lot of cost.